Grace’s Lemon Cranberry Scones

Grace’s Cranberry Citrus GF Scones

Almost as good as the original version made with wheat and much simpler to get on the pan when they are dropped as opposed to being cut. Definitely a delight with a cup of tea or coffee!

  • 2 1/4  cups GF bread flour* 
  • 1/2  cup potato starch 
  • 1  tsp xanthan gum 
  • 1  Tbsp GF baking powder 
  • 1/2  tsp baking soda 
  • 3/4  cup white sugar 
  • 1/2  tsp salt 
  • 1  tsp lemon or orange peel, grated (optional) 
  • 1/3  cup butter (3/4 inch of 1 lb) or margarine 
  • 3  eggs, reserving 1 yolk for the top 
  • enough buttermilk or sour milk to measure 1 1/4 cup with eggs 
  • 1/2  cup dried cranberries (optional) 
  • coarse sugar for topping if desired

Sift flour, potato starch, xanthan gum, baking powder, baking soda, sugar and salt in a bowl.

Cut in butter with a pastry blender or your clean hands until crumbs are between the size of peas and lentils.

Stir in lemon zest to coat with flour.

Whisk buttermilk with eggs and pour over dry ingredients and mix with a fork until batter is combined.

Add cranberries and continue to stir until dry ingredients are incorporated and cranberries are evenly distributed.

Drop biscuits onto parchment lined baking pan and brush with reserved egg yolk and sprinkle with coarse sugar if you like.

Place on baking sheet and bake in a 425°F oven for about 12 – 15 minutes until the scones are nicely browned and barely give when pressed on top.

Makes 13 – 15 two inch biscuits

Advertisement

Corn Pudding

Corn Pudding

Many recipes for corn pudding use Cream Style Corn that contains modified corn starch which I avoid on my gluten-free diet. At first I tried to make my own “cream style” corn but that was a lot of extra work so when I found this recipe using fresh or frozen corn in the “Barefoot Contessa Family Style” cookbook I stuck with it. I used milk instead of light cream and cut the recipe in half so it is suitable for a smaller family so do not hesitate to double this recipe if you are sharing with a crowd. I do not always have ricotta in the fridge so I have substituted cream cheese or cottage cheese and was pleased with the result.

1/4 cup butter

1/2 cup onion, chopped

2 1/2  cups frozen corn  (or fresh)

1/2  pkg (250 g) cream cheese or 1/2 cup ricotta 

1/4  cup cornmeal 

2  eggs

3/4  cup milk, may use some cream if you like 

1  tsp white sugar 

1  tsp salt 

1/4  tsp black pepper 

1  Tbsp fresh basil or chives (optional) 

1/4 cup grated old Cheddar plus some to sprinkle on top

  • Melt butter in a frying pan over medium heat, add onion and cook for several minutes, until soft.
  • Add corn and continue to cook for a few more minutes and let cool slightly.
  • Beat cream cheese with corn meal until soft then beat in eggs one at a time, then milk, sugar, salt and pepper.
  • Stir in basil, if using, and cheese. Pour into a greased casserole dish, sprinkle a little more cheese on top and bake at 375°F for 40 – 50 minutes until top begins to brown and a knife inserted in the centre comes out clean. Serves 5-6

If you are able to use a can of creamed corn it is even easier to make a kid friendly corn pudding that is in the oven in no time….

Claudia’s Corn Pudding

1 can (14 oz) creamed corn

1 can (14 oz) corn Niblets, drained or 2 cups frozen corn

1 cup milk

1/2 cup butter or margarine, melted

3/4 cup corn meal

  • Stir both corns, milk, butter and corn meal together in a buttered 2 quart covered casserole dish.
  • Bake for 1 hour at 350 °F with the lid on then remove lid and continue baking until set, about 15 minutes.

Cooking with Kids – Cupcakes & Quesadillas

Making Cupcakes

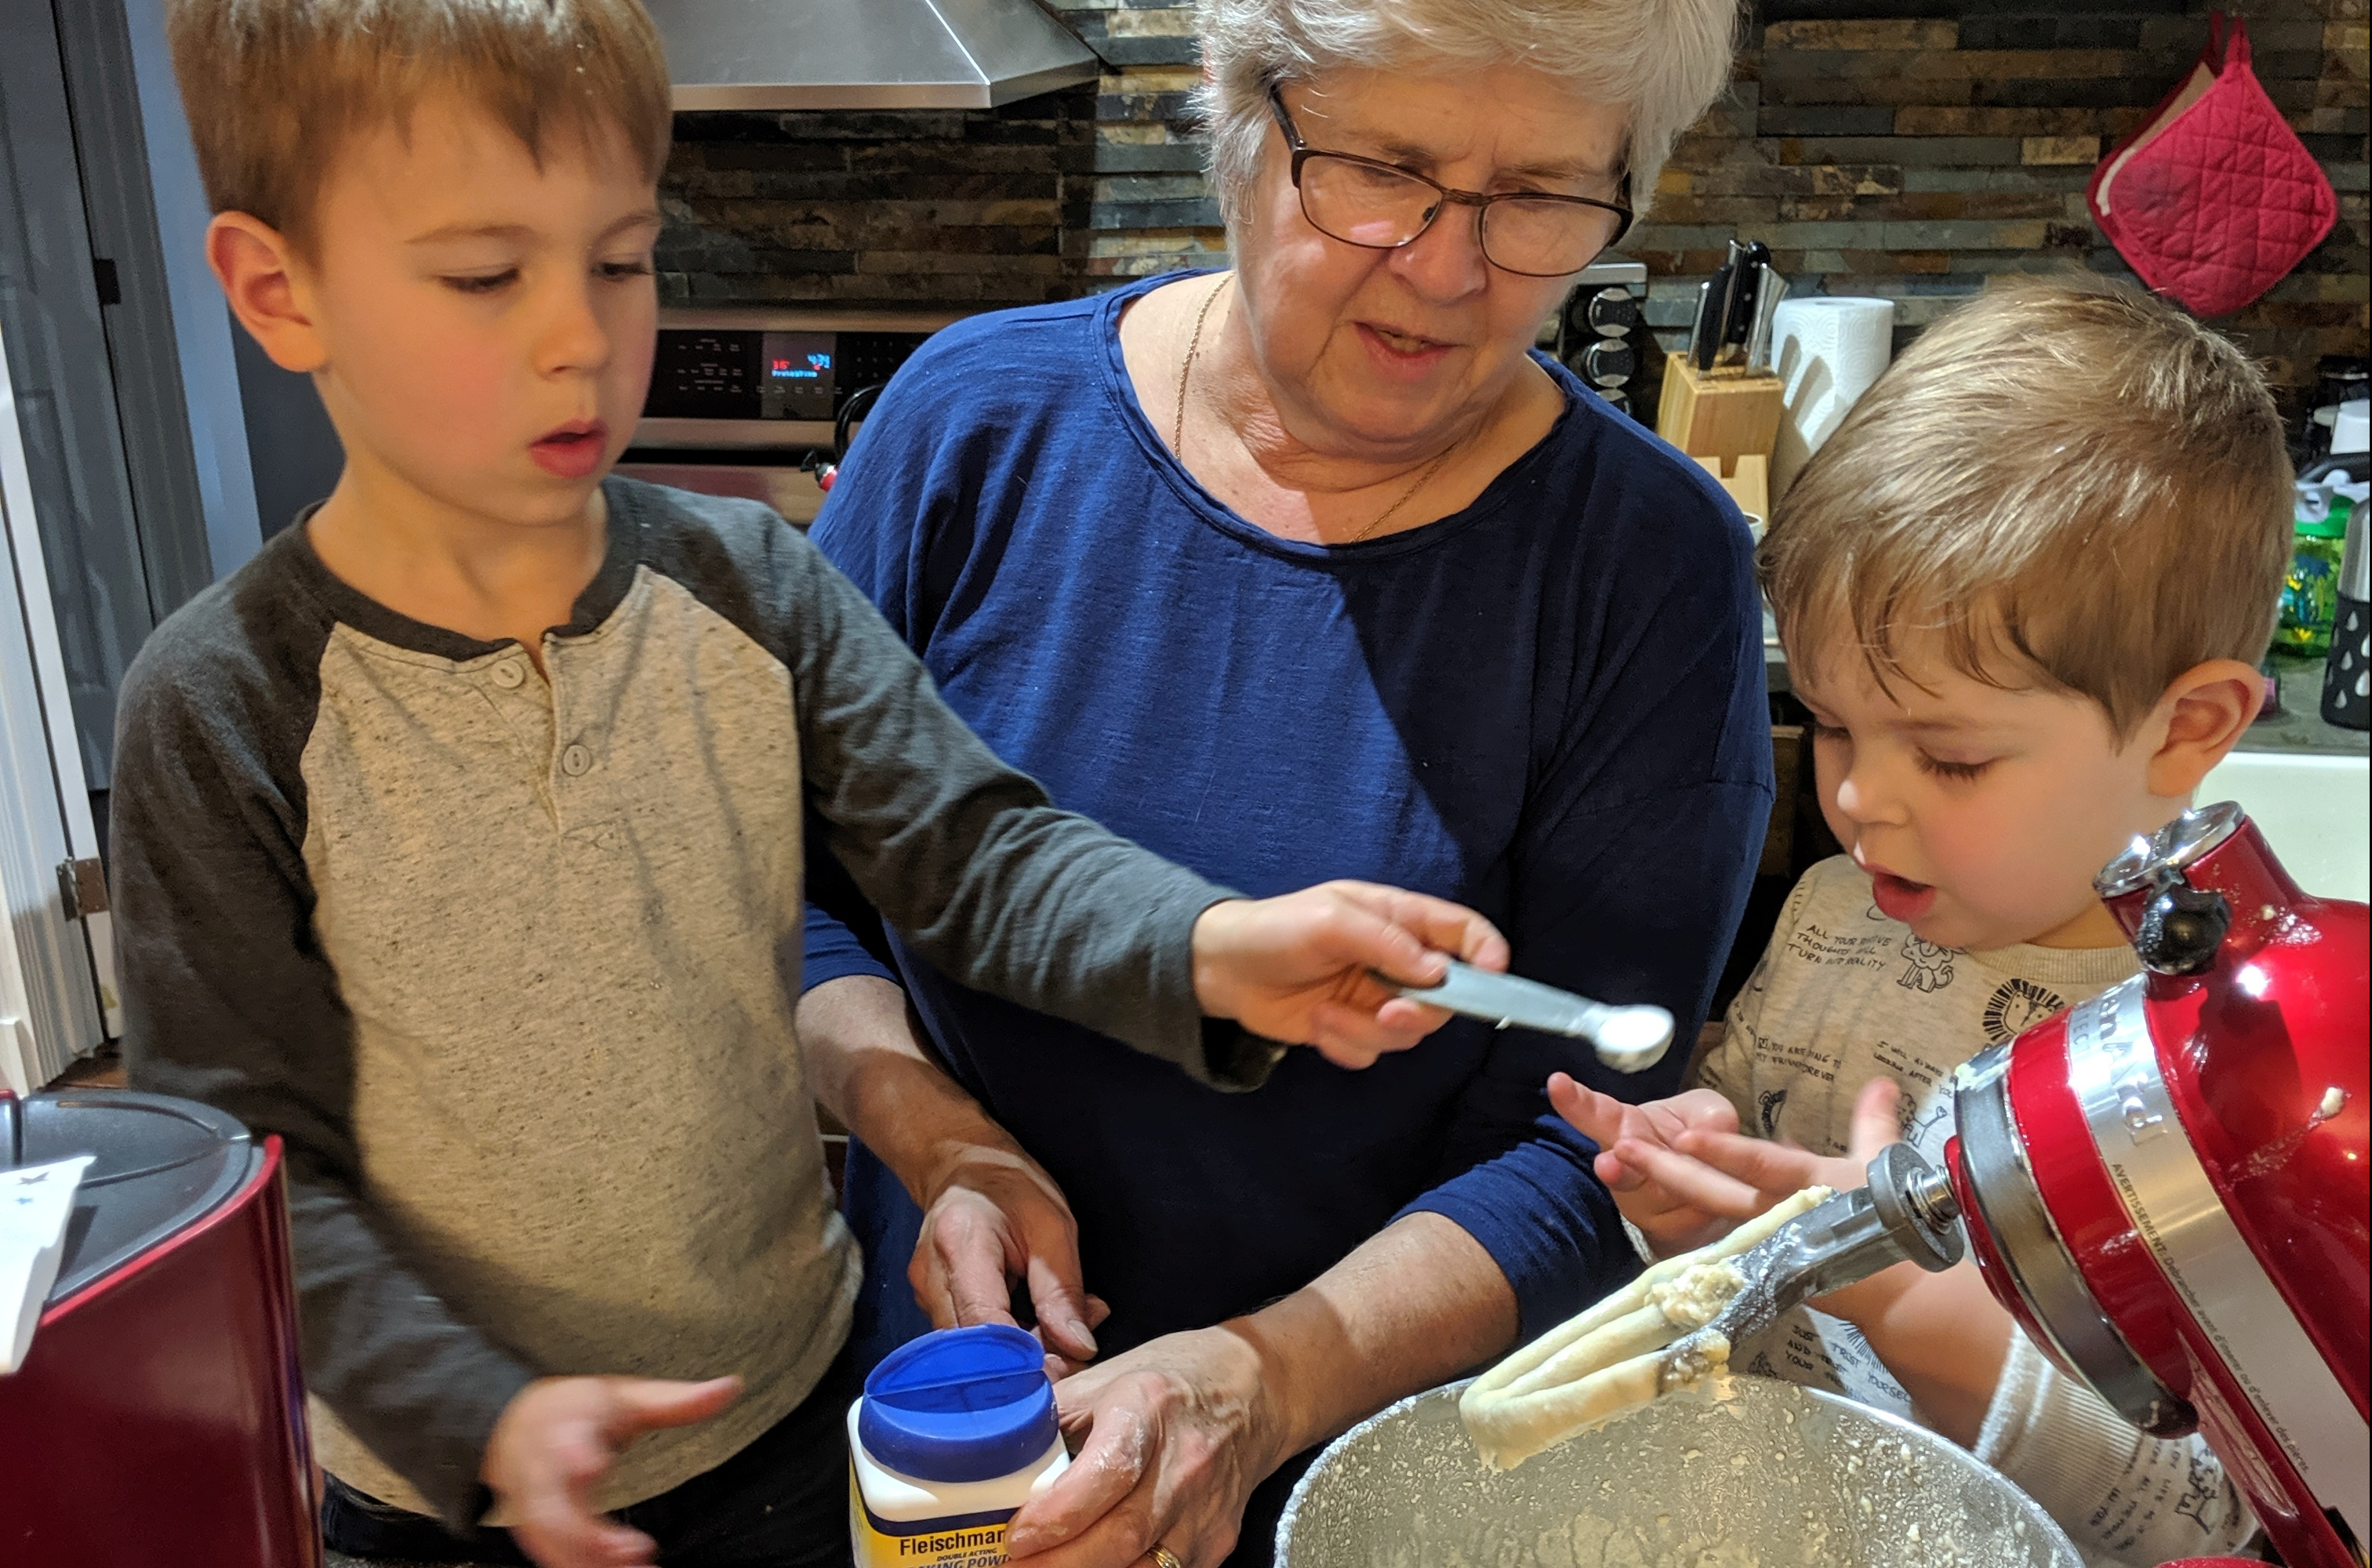
I was thrilled to hear from one friend that over the March break they had challenged their children to select a recipe from my cookbook, Anne’s Favourite’s, then make a shopping list and finally prepare it for the family. I try to organize the ingredients and instructions carefully so they can be followed by novice cooks and following a recipe together provides numerous opportunities for learning, reading, fractions and food science. Talk about where ingredients come from and how they work together to create something completely new.

For my February article in the Rural Voice I wrote about fun in the kitchen for Family Day and as families are spending time isolated in their homes I thought I would share some of those ideas for baking with you here (updated slightly for the occasion).

Family Day Fun in the Kitchen

When Social distancing keeps you inside, at home with your family, use the opportunity to share some fun in the kitchen. I am always surprised at how much young people like to participate in the magic of food preparation. Introduce them to a variety of foods in their original form and let them help to transform them into meals and snacks to enjoy together. Cracking eggs for breakfast, peeling cucumber or carrots for lunch gives them new interest in that food. Something as simple as peeling and deconstructing a pomegranate can be an activity for little hands resulting in a wealth of delicious and nutritious seeds to eat alone or add to salad or whatever you please.

Applesauce

Homemade applesauce is a simple way to get even the youngest children involved in the kitchen. I put a bowl of water on a low table and a container of apples to be washed with a cloth to soak up the water underneath and let the little ones wash the apples before I cut them into the bowl to microwave. We leave the skins on and later help them to turn the handle on the food mill to make applesauce. If you do not have a food mill get them to peel the apples with a vegetable peeler before you cut them into the bowl to cook. When they are soft your helpers can do some mashing. Enjoy this delicious treat on its own  or take a cup and make a batch of applesauce muffins.

George Mixing

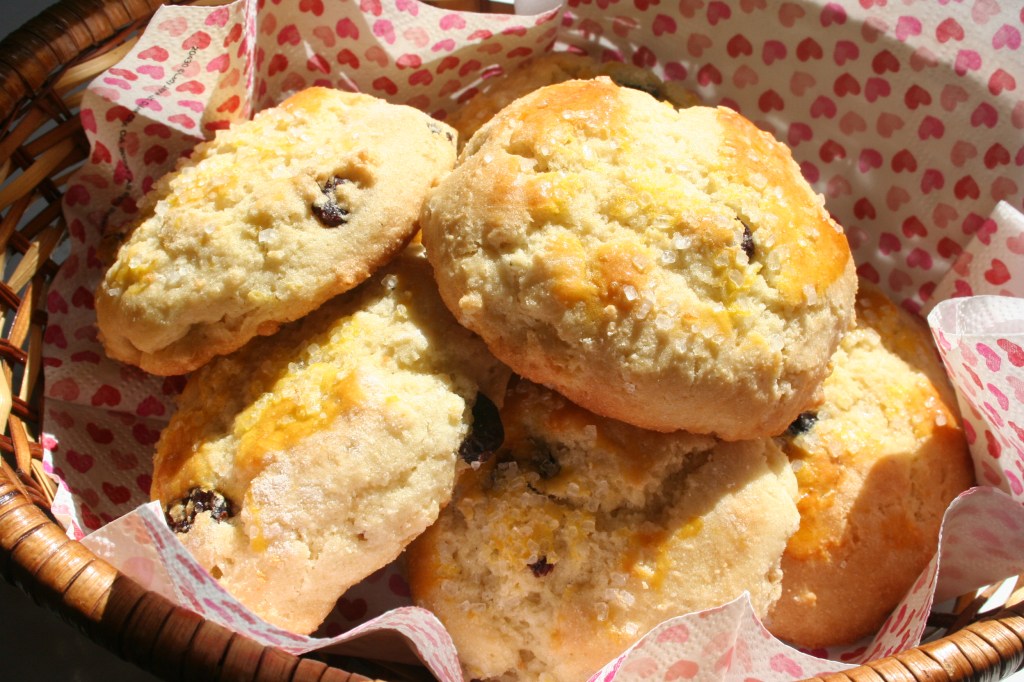
Applesauce Cranberry Muffins

Apples and cranberries are always good together. Sometimes I use a little leftover cranberry sauce in place of some of the applesauce. These muffins are a little sweeter and more like cupcakes so kids enjoy them.

  • 1 cup whole wheat flour *
  • 1/2  cup all purpose flour *
  • 2 Tbsp hemp seed or ground flax seed (optional)
  • 2/3  cup white sugar
  • 1  tsp baking powder
  • 1  tsp baking soda
  • 1/2  tsp salt
  • 1 1/2  tsp cinnamon
  • 1 cup fresh or frozen cranberries, chopped or 1/2 cup raisins or dried cranberries
  • 2  eggs
  • 1/3  cup canola oil
  • 1/3  cup yogurt  or sour cream
  • 2/3  cup applesauce

*You may replace both flours with 1 ½ cups of gluten-free all purpose flour and 1 tsp of xanthan gum

  1. Mix both flours, flax or hemp, sugar, baking powder, baking soda, salt, cinnamon and xanthan gum if using.
  2. Stir in eggs, oil, yogurt and applesauce until blended.
  3. Add cranberries and mix until incorporated.
  4. These muffins are a little runnier than most so do not be alarmed.
  5. Fill paper-lined muffin pans using a 1/4 cup measure or a 2 1/4 ounce scoop or use a 1 ounce scoop and fill mini muffin pans. Makes 3- 4 dozen small ones.
  6. Bake at 365°F for about 20 minutes for the minis and 28 – 30 minutes for the regular ones. Muffins are done when springs back when lightly touched.

Makes 11 -12  muffins

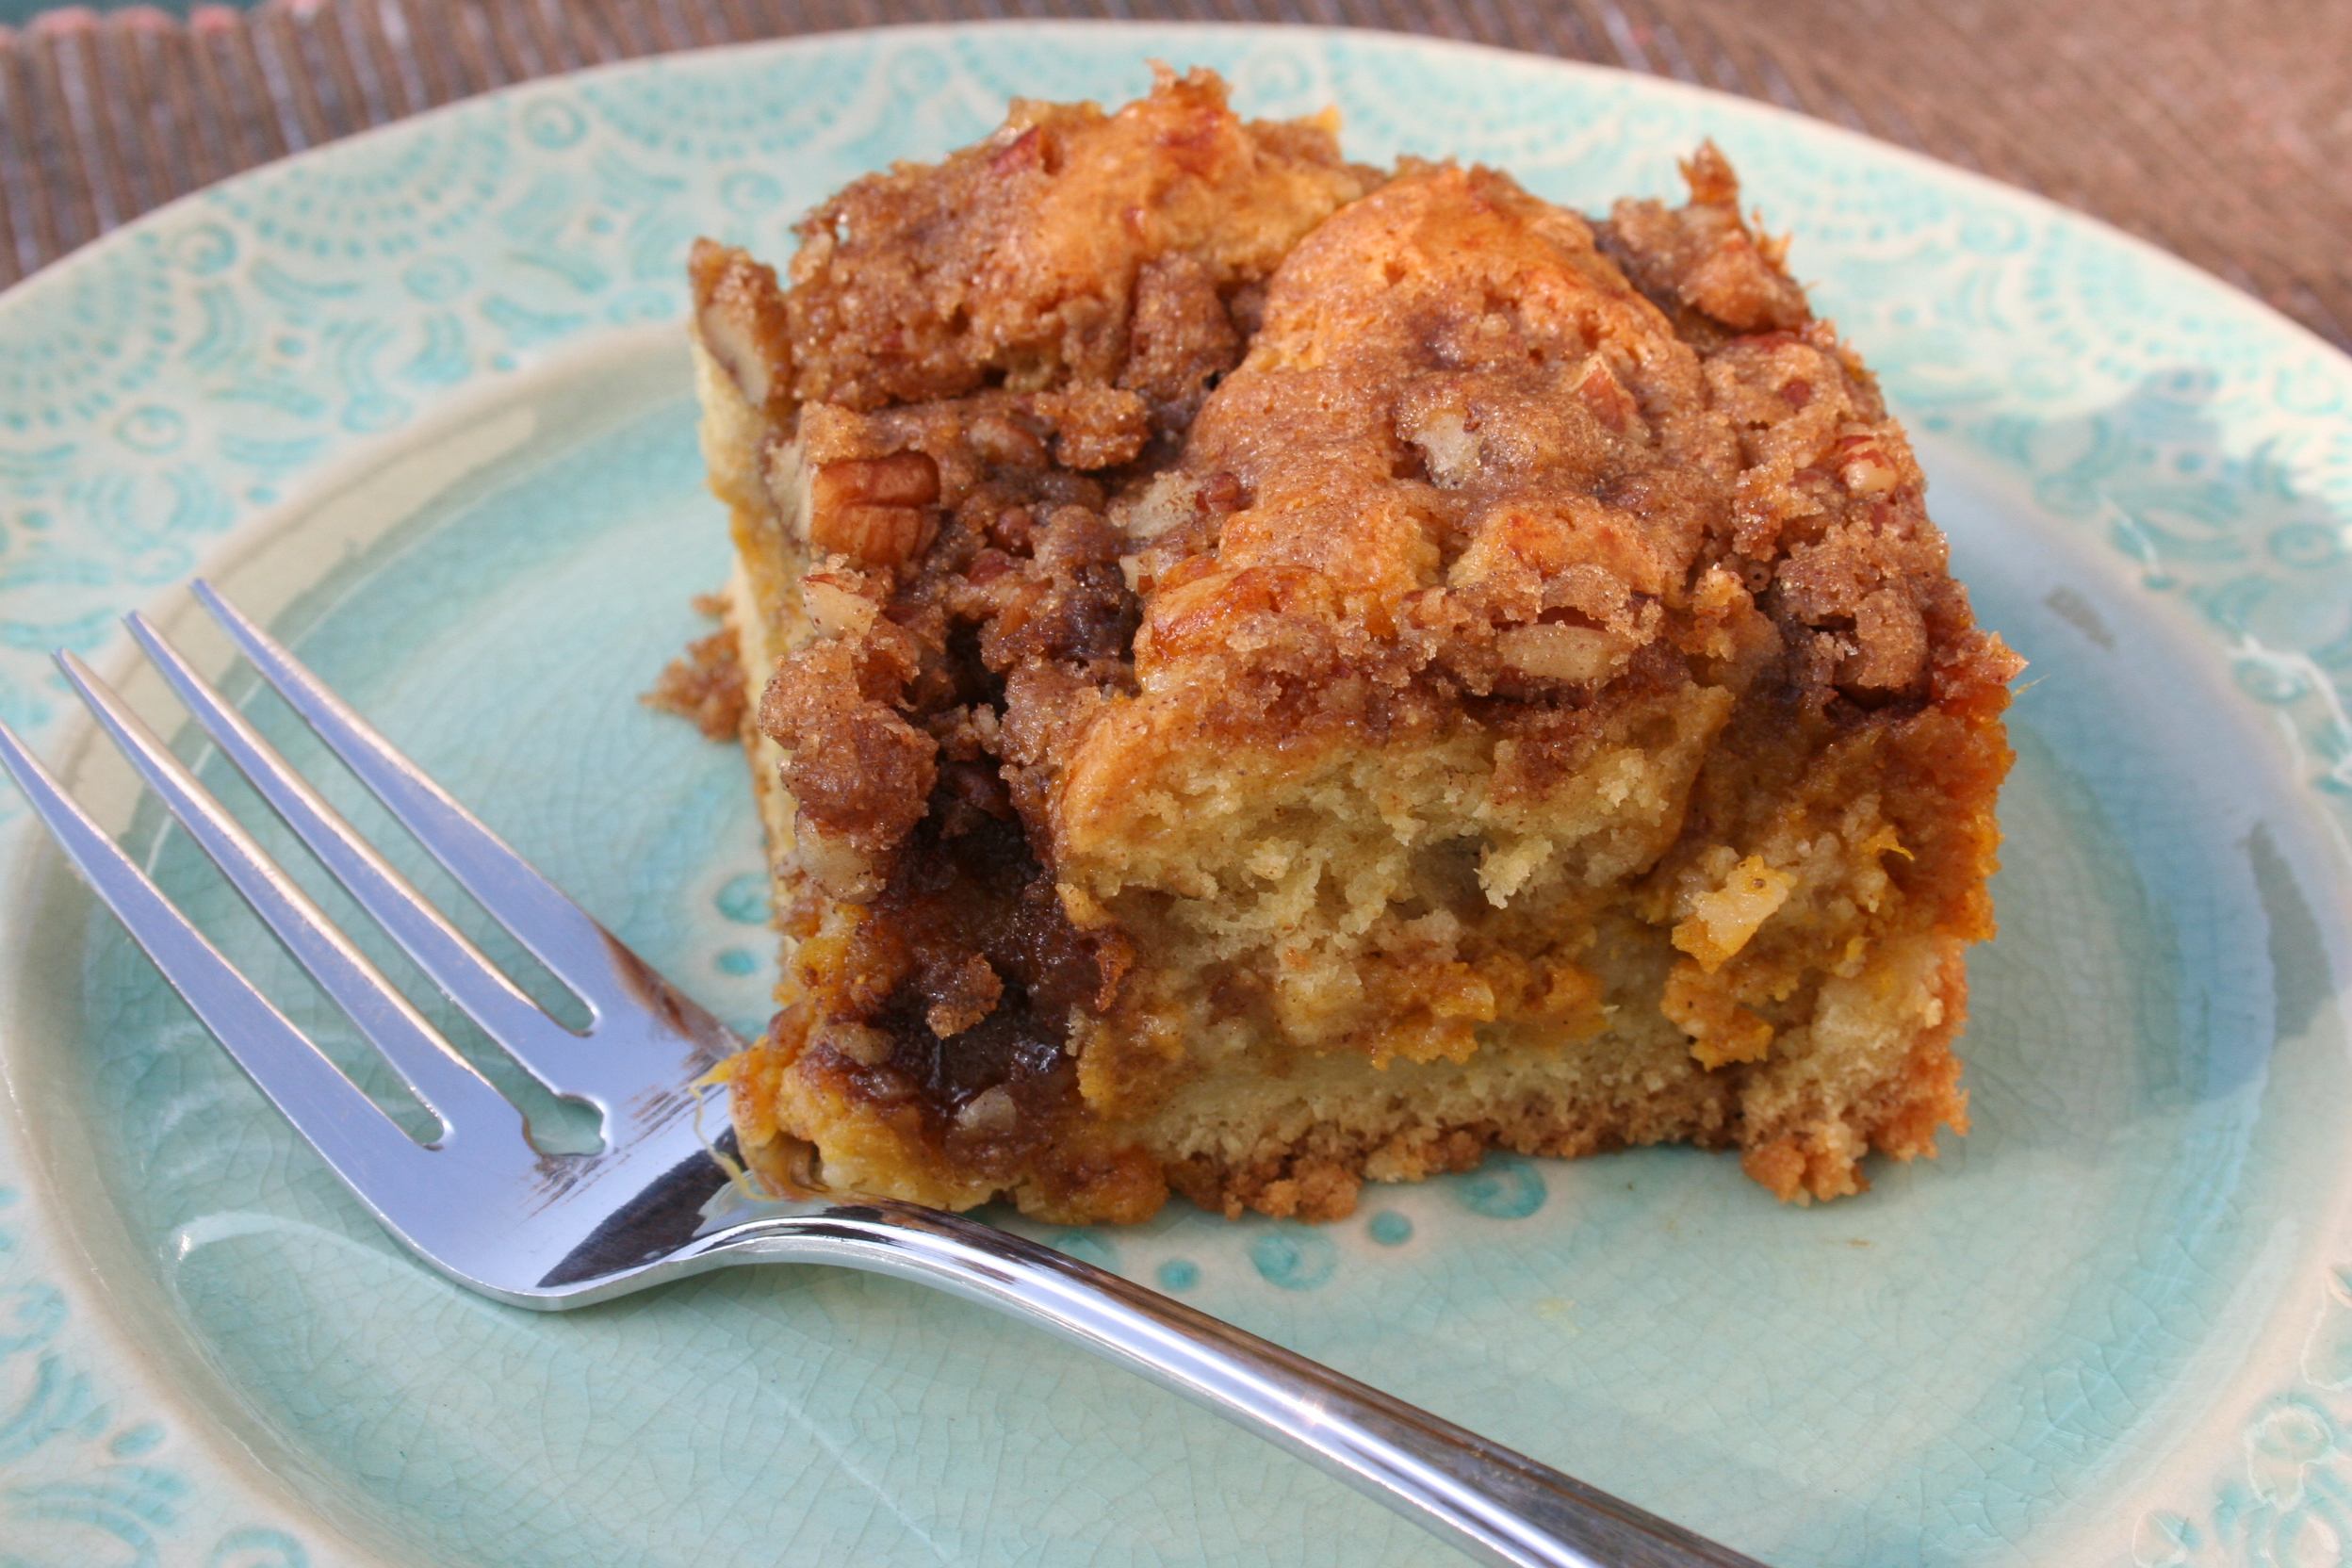
 Chocolate Zucchini Cupcakes

Every occasion becomes special when you add some pretty cupcakes. These are probably my most requested contribution to family parties and group activities. I always have a package of grated and measured zucchini in the freezer from the summer abundance but if you do not there is usually fresh zucchini at the store throughout the winter. This popular cake adapts without much trouble to a gluten-free version. Most people would not realize there was anything different.

  • 1/2  cup canola oil
  • 1/2  cup margarine
  • 1 3/4  cups white sugar
  • 3  eggs
  • 2  tsp vanilla extract
  • 2 1/2  cups GF all purpose flour  (can substitute regular flour and omit the xanthan gum)*
  • 1 1/2  tsp xanthan gum *
  • 1/2  tsp GF baking powder
  • 2  tsp baking soda
  • 1/2  cup cocoa powder
  • 1/2  cup sour milk, buttermilk or yogurt
  • 2  cups grated zucchini, unpeeled (may use frozen)
  • 1/4  cup chocolate chips

*you may substitute regular all purpose flour for the gluten-free and omit the xanthan gum

  1. Sift flour with xanthan gum, GF baking powder, baking soda and cocoa powder.
  2. Beat oil, margarine, sugar, eggs and vanilla until light.
  3. Mix in sifted flour mixture alternately with the sour milk, beating after each addition.
  4. Stir in zucchini and chocolate chips until evenly distributed.
  5. Fill paper lined muffin pans ¾ full using a scoop or ¼ cup measuring cup. You may also use a greased and floured 9 x 13 inch pan or two 8 inch round layers.
  6. Bake at 350°F for about 30 minutes for cupcakes and 35 – 45 minutes for cakes.
  7. Cake is done when it springs back when lightly touched and is beginning to pull away from the sides of the pan.

Easter Cupcakes

The internet has hundreds of ideas for decorating cupcakes so have a look at the incredible creativity shared there. You can simply pipe or spread a nest of icing on top and fill it with a few mini eggs or you can use some marshmallows to make bunnies  or sheep. Have fun! If you do not have piping bags for detail use a ziplock sandwich bag and cut the corner to make your own piping bag. Use raisins and nuts if you do not have the candy decorations. Ask your children for ideas, you might be amazed by how creative they are. We had some fun frosting cupcakes with rainbow colours mixing 3 pastels colours in the same piping bag and letting them come out in a swirl.

Butter Frosting

This butter frosting is based on the bakery fluffy white frosting we used for our slab cakes except I have substituted butter for most of the shortening. It has a lovely flavour and is very stable at room temperature. It can be easily tinted to your favourite colour for special occasions.

  • 1/2  cup butter, softened
  • 1/8  cup non-hydrogenated shortening or more butter
  • 4  cups icing sugar
  • 2  Tbsp corn syrup
  • 2  tsp vanilla
  • pinch of salt
  • 1/4 cup water or milk, as needed to desired consistency
  1.  Beat butter and shortening with half the icing sugar until light.
  2.  Add corn syrup and vanilla and beat until incorporated.
  3. Slowly beat in remaining icing sugar, adding a little of the water if it becomes too stiff for the mixer.
  4. Add remaining water a little at a time as needed and continue to beat for at least 5 minutes until light and fluffy.
  5. At the bakery we beat this frosting for a full 10 minutes.

Quesadillas

Quesadillas

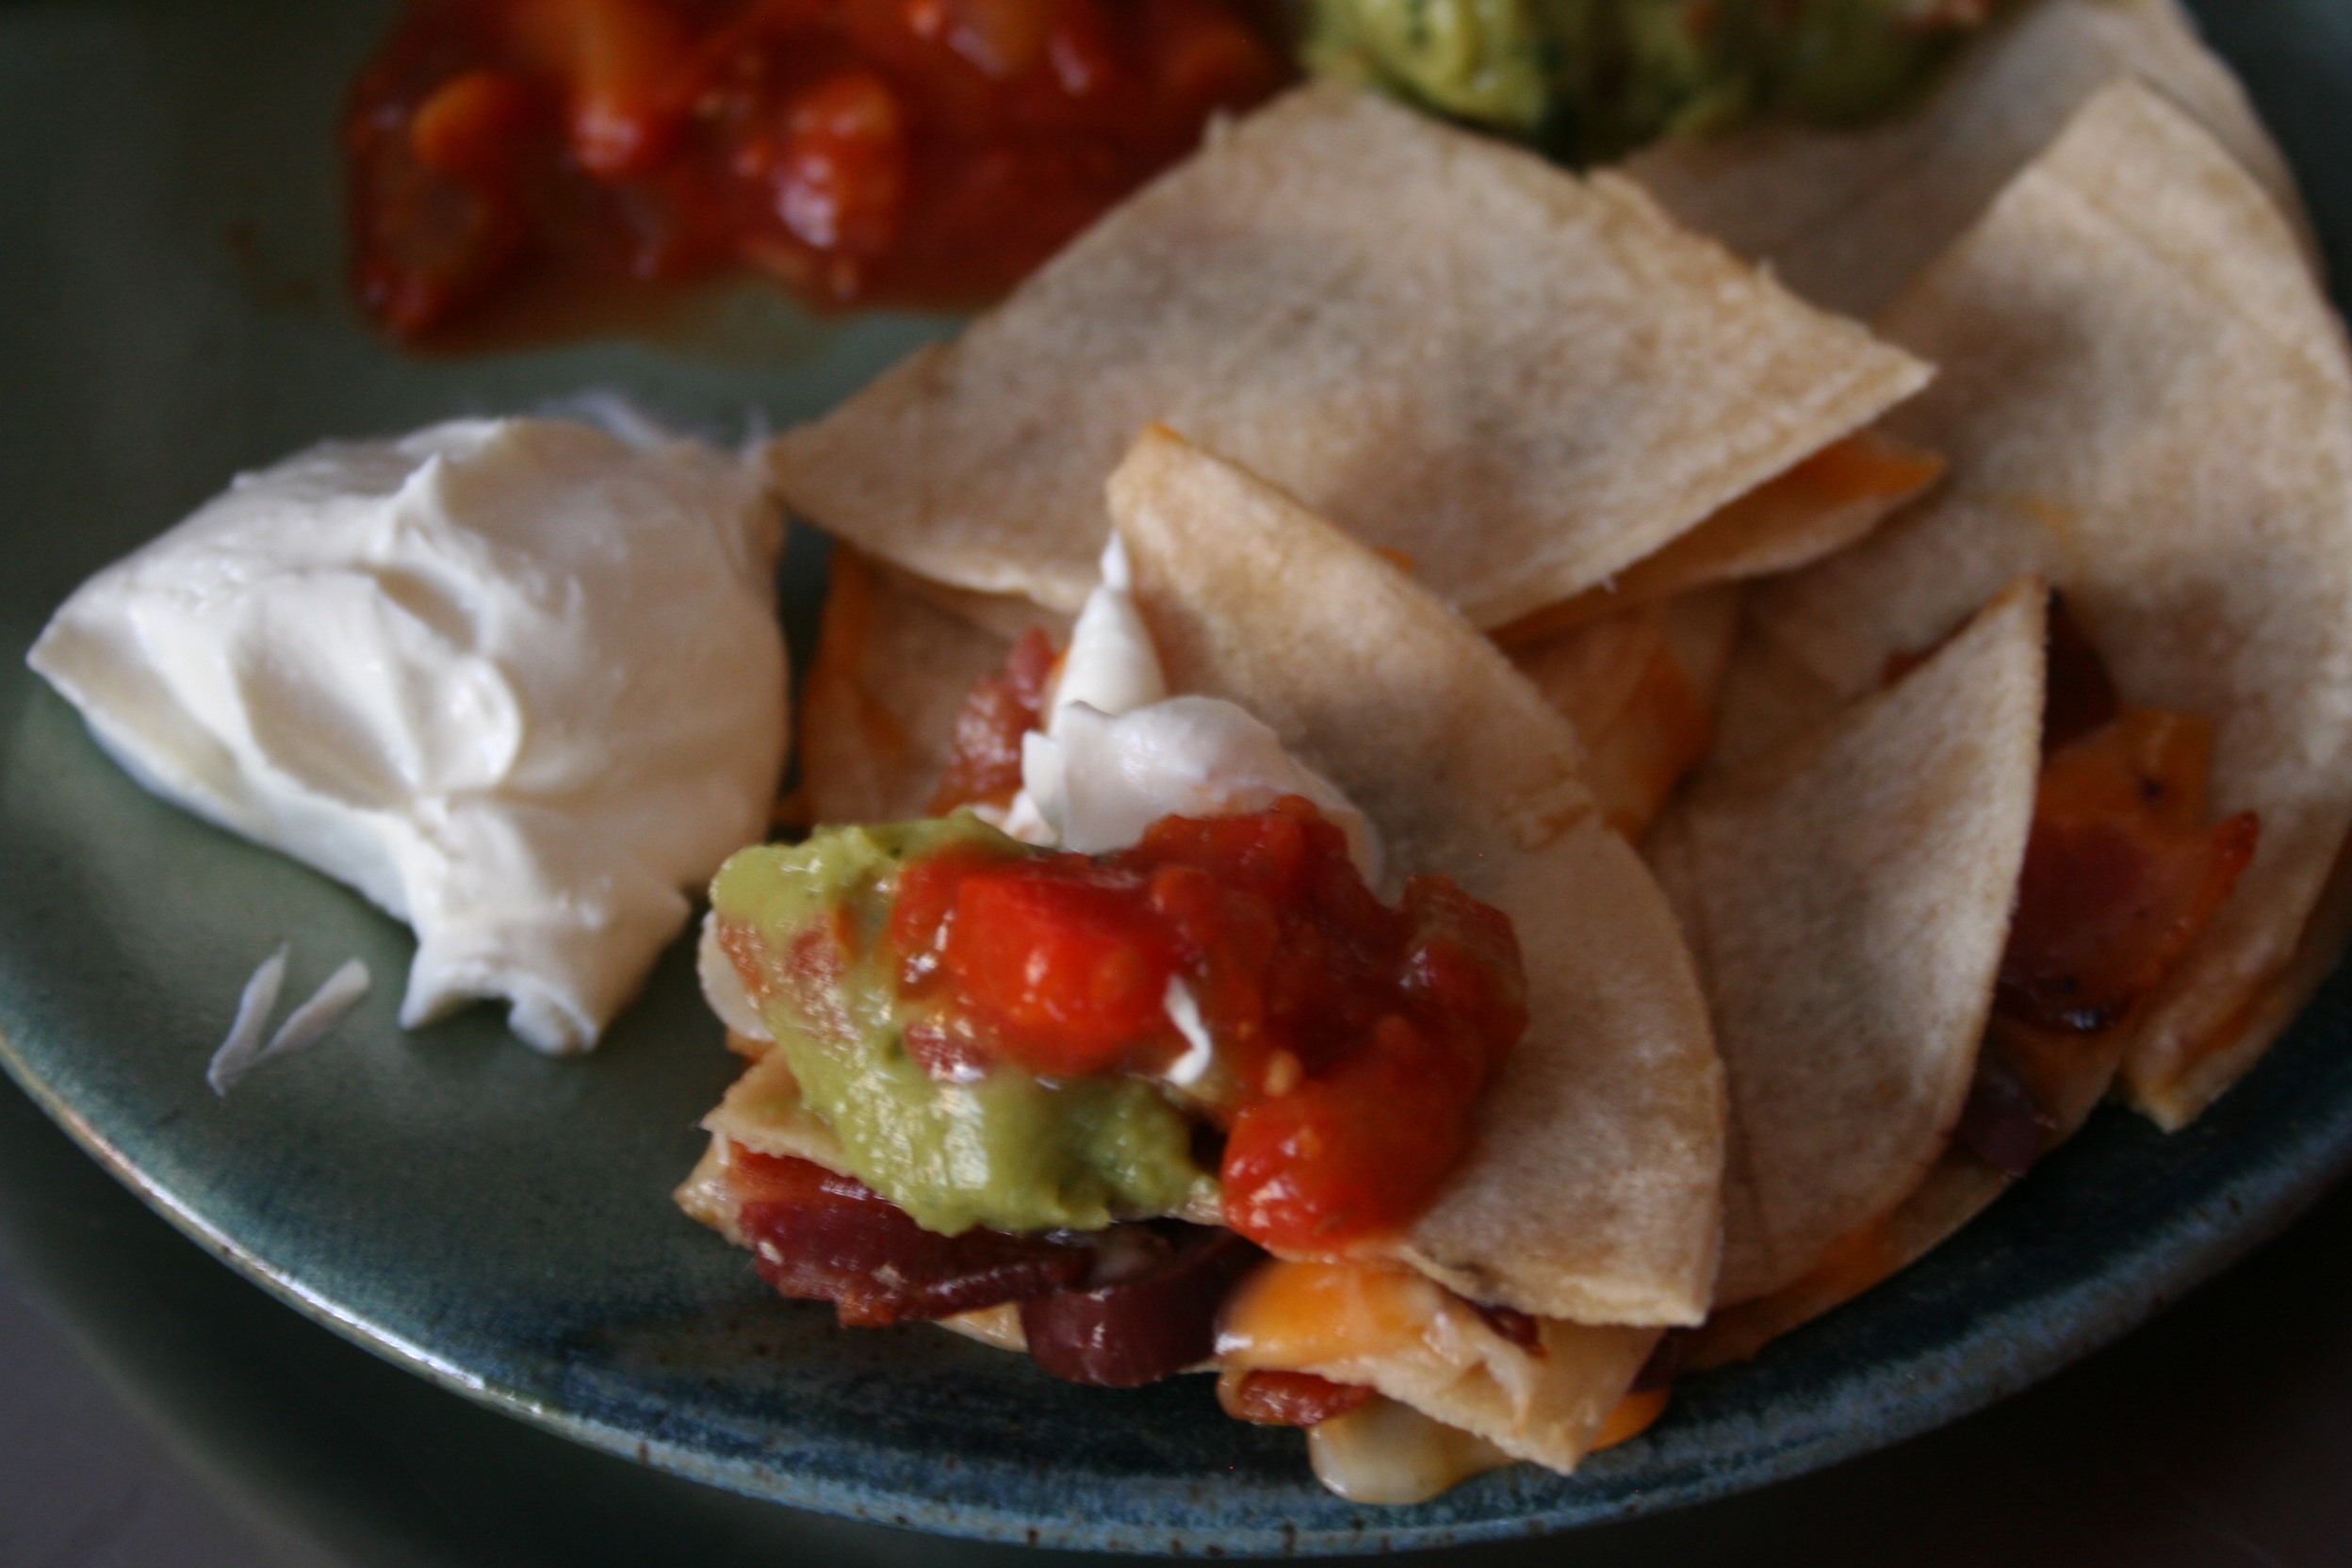
 For lunch or snack or dinner these are quick and versatile and kids of all ages love them. This was a favourite item for cooking lessons with Cubs. They were amazed that they could make something like this with just the help of an adult to put it in the oven. It used to be difficult to find nice fresh, soft corn tortillas that did not contain any wheat but they are becoming  more readily available in the grocery store so these are making a comeback at our house!

  • 4 – 8 inch soft tortillas (corn tortillas for gluten-free)
  • 2 cups shredded Cheddar, mozzarella or other cheese
  • 4 slices bacon, cooked
  • Garnish with chopped green onions if you have them
  • Accompaniments: sour cream, salsa and guacamole
  1. Cover 2 tortillas with cheese.
  2. Crumble bacon over top.
  3. Place remaining tortillas on top and press lightly.
  4. Bake in 375°F oven for about 5 minutes until the cheese is melted and tortillas are starting to brown.
  5. Cut in quarters and serve with sour cream, salsa and guacamole.

Serves 2 – 3

 Variation: Chicken Quesadillas

Substitute about 1 cup cooked, shredded chicken for the bacon. Toss chicken with 1 Tbsp BBQ sauce before adding to quesadilla.
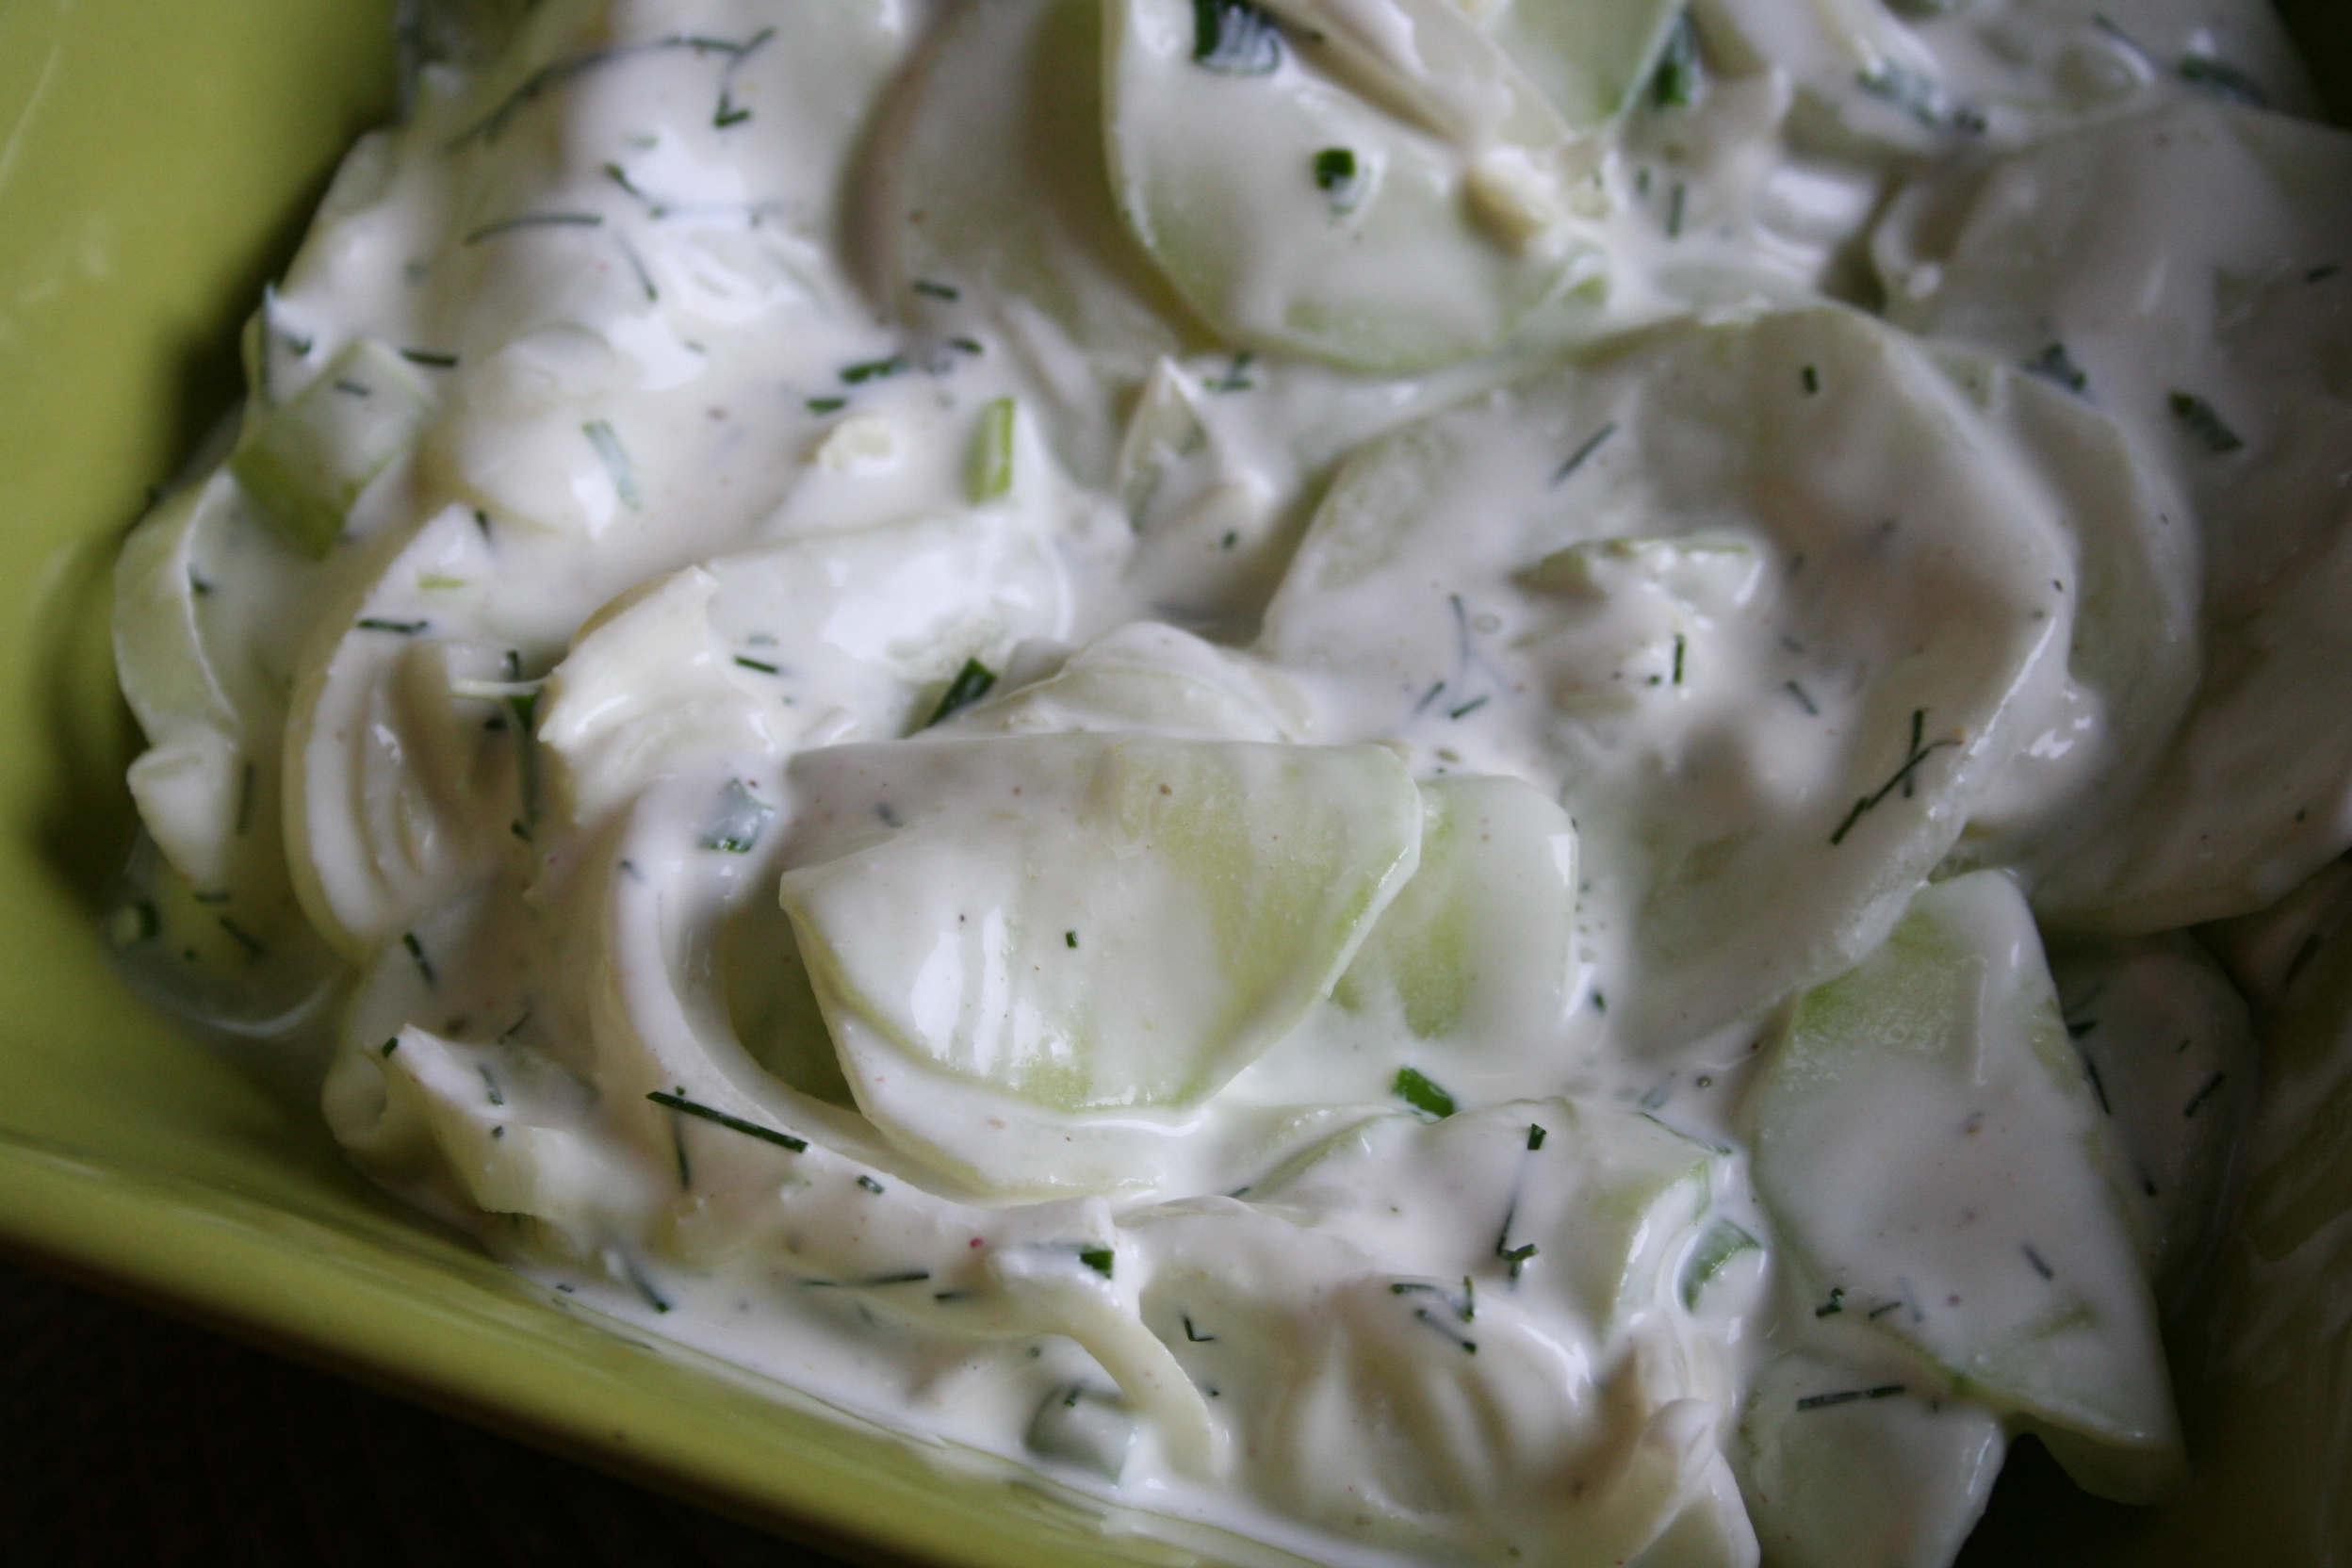
Guacamole

Let your kids help you make some homemade guacamole. This is a pretty basic, but balanced, guacamole recipe that I got from my sister. When we make a little guacamole to go with nachos or quesadillas for the kids we will omit the jalapeno pepper. Since we also have some that are not fond of tomatoes we even make it without the tomato ….  so sometimes we just have mashed avocado with a little lime and salt and pepper to accompany our Mexican inspired meals and this is just fine!

If you have leftover cooked peas you can mash them right in to use them up and boost the protein value.

  • 1  ripe avocado, flesh removed and diced
  • 2  tsp fresh lime juice (lemon will also work)
  • 1  clove garlic, crushed
  • 1 – 2  Tbsp red onion or 2 green onions, chopped
  • 1 Jalapeño pepper, finely chopped without seeds
  • 1/3 cup fresh tomato, seeded and finely diced
  • 1 Tbsp fresh coriander, chopped or 1/2 tsp dry (optional)
  • 1/2 tsp salt, or to taste
  1. Mash pulp from avocado with lime juice immediately because avocado turns brown quickly.
  2.  Add garlic, onion, pepper, tomatoes, coriander and salt.
  3.  Adjust salt if needed.
  4. Serve with quesadillas or raw vegetables or tortilla chips.


Pumpkin Pie Coffee Cake

Pumpkin Coffee Cake


Pumpkin Pie Coffee Cake – Click here for PDF version

I was a little skeptical when I saw this recipe on Mary Younkin’s blog with actual pumpkin filling in the centre but I was amazed at how well it turned out. I love pumpkin pie and I love coffee cake and the two together are even better!

It is the best coffee cake I have made since I was diagnosed with Celiac Disease 5 years ago!

Prepare Cake Batter:

1/2         cup butter or margarine

3/4         cup white sugar

3             eggs

1             tsp vanilla

2             cups GF AP flour*

1             tsp xanthan gum

1             tsp baking powder

1             tsp baking soda

1/4         tsp salt

1             cup sour cream

Filling:

2             cups pumpkin puree (15 oz)

3/4         cup brown sugar, packed

1             tsp cinnamon

1/2         tsp salt

1/2         tsp mace

1/2         tsp ginger

2             eggs

1/2         cup light cream or milk, scalded

Topping:

1/3         cup butter,  melted

1             cup brown sugar, packed

2             tsp cinnamon

1             cup pecans, chopped

* I used 1 cup of my gluten-free AP flour and 1 cup GF bread

  • For the cake beat butter and sugar until light, then beat in eggs one at a time.
  • Sift or stir together flour, baking powder, baking soda and salt, then beat into with butter mixture.
  • Add sour cream and beat again until smooth.
  • Prepare filling in a separate bowl by mixing pumpkin, brown sugar, cinnamon, salt, mace, and ginger.
  • Add eggs, then scalded cream and whisk until smooth.
  • For the topping mix melted butter with brown sugar, cinnamon and pecans and set aside.
  • Pour a little more than half the batter into a greased 9 x 13 inch pan then spread pumpkin filling evenly over all. Spoon remaining batter as evenly as you can over the filling. Do not worry that there are spaces between the batter but get it as even as possible and sprinkle with the topping mixture.
  • Bake for 50 – 60 minutes at 325°F or until cake springs back when lightly touched, a tester comes out clean and cake is pulling away from the sides of the pan. Cool before serving.

Cucumber Salad

cucumber-salad-2

Cucumber Salad – for pdf version click here cucumber-salad

When the cucumbers are fresh and plentiful I love to make this delicious salad. It is particularly nice with the smaller cucumbers from your garden or the farmers market. I use my mandoline to slice them thinly but I it is easy enough to slice by hand also. Kat mentioned you could use a potato peeler for paper thin slices but I prefer them a bit thicker.

You can definitely adjust the extras in this salad to your taste. I love dill so I almost always add a little fresh or frozen dill weed if I have it but if you do not like dill leave it out. We also love onions so always use red onion but it you are not so keen just use green onion or chives.

Kat’s Cucumber Salad

2 – 3     small cucumbers, peeled and sliced as thinly as possible, about 2 cups

2          Tbsp thinly sliced red onion (optional)

salt as needed

1/3       cup sour cream

1          Tbsp mayonnaise or whipped salad dressing

1          Tbsp white wine vinegar

1/4       tsp salt

3/4       tsp white sugar

1 – 2     Tbsp chives, chopped or green onion

1          Tbsp fresh dill weed (optional)

Freshly ground black pepper

  • Peel and slice cucumber and onion as thinly as you can or to your taste.
  • You may use a slicer or even a potato peeler but it is easy enough to do them by hand.
  • Sprinkle liberally with salt and let sit for at least 20 minutes.
  • Strain off liquid and discard. I let them sit in a strainer over a bowl for about an hour. Squeeze excess water out before dressing.
  • For dressing mix sour cream, mayonnaise, vinegar, salt, sugar, chives and dill.
  • Pour over drained cucumbers and onion.
  • Top with pepper and adjust seasoning to taste.

Serves 4

Roasted Cherry Tomato and Sausage Pasta

Roasted Tomato - Copy.JPG


Roasted Tomato and Sausage Pasta

I love the little orange Sun Sugar cherry tomatoes from William Dam Seeds www.damseeds.ca but in a good year they produce more tomatoes than we can use or give away since we have given all our friends and families their own plants to grow in the summer. They add a delicious taste and sweetness to tomato juice but sometimes I am not ready to make a pot of sauce so this pasta uses the excess and answers the question “what’s for dinner” in a very satisfactory way! It is adapted from Michael Smith’s “Cherry Tomato Penne” with a little more bounty from the garden added.

Roasted Tomato Sausage Pasta Sauce – For pdf version click here cherry-tomato-pasta

Nick recommended I try Michael Smith’s Roasted Cherry Tomato Penne and I was glad he did. I could not believe how simple and delicious this pasta dish was and it used a commodity that is difficult to preserve if you have an over abundance from the garden. Because I love roasted peppers and they are available at the same time as the tomatoes I included them with the sauce. I added the egg plant just to use them up one time and found they added a depth and creaminess to the dish that made it even better. This quick summer pasta dish has become a staple in our house.

1              Tbsp olive oil

8              cups cherry tomatoes, I use a mixture of red, orange and any chopped larger                              tomatoes if needed

1              red or coloured sweet pepper, coarsely chopped

1              small to medium egg plant, peeled and cubed (optional)

1              large onion, coarsely chopped

4              cloves garlic

6              garlic sausage (500 g) or sausage of choice – It’s fine to use up smoked sausage

salt and pepper generously sprinkled over all

8 -12       ounces  Gluten-free pasta shells or penne, I use an 8 oz box

1              large handful of fresh basil, about 4 stems, remove leaves and chiffonade

Grated Parmesan cheese as desired

  • Place olive oil, tomatoes, pepper, egg plant (optional), onion and garlic in a large roasting pan so vegetables are essentially in a single layer and roast at 400 °F for 30 minutes. I actually use 2 lasagna pans to spread them out and combine them after they are cooked.
  • Cut sausage into 1/2 inch pieces and add to roasted vegetables and continue roasting until sausage is browned, about 30 – 40 more minutes..
  • Cook pasta in salted water according to package directions when sausage is almost done.
  • To chiffonade basil leaves pile leaves together and roll. Cut through all leaves at once in narrow strips..
  • Toss basil in with roasted tomato mixture when pasta is done and top with grated cheese if desired.

I have roasted all the vegetables with the sausage for the sauce and frozen it to use in the winter and was really glad to have it for a quick meal.

Serves 6 – 8

http://www.annesfavourites.ca

Absolutely Awesome Drop Biscuits (Gluten-free)


I have missed a nice biscuit or scone since being diagnosed Celiac so I was thrilled when a friend brought the Garlic cheese biscuits made with Betty Crocker’s Biscuit Mix https://annesfavourites.ca/2014/10/22/almost-famous-cheddar-biscuits-gluten-free/ .These are so good you do not have to make a wheat version for company! I immediately tried a homemade version of the same with my regular all purpose flour mix but they were very disappointing. Also tried my own recipe for biscuits with a gluten-free mix and they also fell short of my expectations and of course I searched the internet for other people’s ideas for biscuits and none was up to scratch but these…….ARE!!

Biscuits

I revamped my Bread flour mix based on the past year’s experiences and used it with a little extra potato starch but I think the real trick is using the eggs in place of some of the milk. The buttermilk definitely adds an extra element of flavour but I plan to try them with soured milk when I use up all my buttermilk. I’m thinking if it makes a difference I will freeze the buttermilk in correct quantities for this mix.
I am giving you the recipe for the plain drop biscuits and the garlic cheese biscuits. Either is a great complement to a hearty soup meal.
Enjoy 🙂
I have successfully adapted this recipe to Grace Gammie’s Scones and will try to get that posted tomorrow so you can treat your Valentine this week-end to an afternoon tea or use them as a delicious addition to brunch.

Plain Drop Biscuits Click here for PDF version https://www.dropbox.com/s/xmqps5zrmxb61at/Drop%20Biscuits.pdf?dl=0

2 cups GF bread flour*
1/4 cup potato starch
1 tsp xanthan gum
1 Tbsp GF baking powder
1/2 tsp baking soda
1 Tbsp white sugar
1/2 tsp salt
1/4 cup butter or margarine
2/3 cup buttermilk
3 eggs
1/2 cup raisins, shredded Cheddar or mixed peel (optional)

  • Sift flour, potato starch, xanthan gum, baking powder, baking soda, sugar and salt in a bowl.
  • Cut in butter with a pastry blender or your clean hands until crumbs are between the size of peas and lentils.
  • Whisk buttermilk with eggs and pour over dry ingredients and mix with a fork until batter is combined.
  • Add cheese or fruit, if desired, and continue to stir until dry ingredients are incorporated and raisins are evenly distributed.
  • Drop by tablespoon onto ungreased cookie sheet or parchment paper. Bake in a 425°F oven for about 12 – 15 minutes until the biscuits are lightly browned and barely give when pressed on top.

Makes 13 – 15 two inch biscuits

*Bread Flour Mix

2 cups sweet rice flour
1 cup brown rice flour
1 cup white rice flour
1 cup tapioca starch
1/2 cup potato starch
1/2 cup millet flour

ALWAYS whisk or shake together before measuring.

Garlic Cheese Biscuits

Biscuits:Click here for PDF version https://www.dropbox.com/s/ebivagb6jzfj8tv/Garlic%20Cheese%20Biscuits.pdf?dl=0
2 cups GF bread flour*
1/4 cup potato starch
1 tsp xanthan gum
1 Tbsp GF baking powder
1/2 tsp baking soda
1 Tbsp white sugar
1/2 tsp salt
1/2 tsp garlic powder
1/4 cup butter or margarine
2/3 cup buttermilk
3 eggs
2/3 cup cheddar cheese, shredded
Topping:
1/4 cup butter, melted
1 clove garlic, crushed or 1/4 tsp garlic powder
2 Tbsp fresh or frozen chopped parsley or 1 tsp dried
1/3 cup shredded Cheddar cheese

  • Sift flour, potato starch, xanthan gum, baking powder, baking soda, sugar and salt in a bowl.
  • Cut in butter with a pastry blender or your clean hands until crumbs are between the size of peas and lentils.
  • Whisk buttermilk with eggs and pour over dry ingredients and mix with a fork until batter is combined.
  • Add cheese or fruit, if desired, and continue to stir until dry ingredients are incorporated and raisins are evenly distributed.
  • Drop by tablespoon onto ungreased cookie sheet or parchment paper.
  • Bake in a 425°F oven for about 12 minutes until the biscuits are lightly browned and barely give when pressed on top.
  • Mix melted butter, garlic and parsley and brush on hot biscuits.
    Sprinkle with remaining cheese and return to oven for 2 – 3 more minutes until cheese is melted.
    Makes 13 – 15 two inch biscuits

Anne’s Favourites

Grandma’s Favourites

I wish to extend my apologies for letting my blog registration expire for a week at the end of November and hope nobody was looking for a recipe during that time.

Quality Control

Today I am so excited to share with you a very special baking experience, making cookies with our first grandchild! Sporting an apron purchased at the Lucknow United Church bazaar, Davis helped Grandma make peanut butter cookies and decided that it was good and Grandma was thrilled!
If you are able to eat peanut butter, try these cookies, and if you are not, try the “Six-in-one” Recipe that follows and is always a hit with children. I was having difficulty deciding which to make when I was visiting in Calgary!


Peanut Butter Chocolate Chip Cookies

I adapted this recipe from one I found in a Gourmet magazine in 1986 and they are the best.

  • 1 cup butter or margarine
  • 1 cup peanut butter
  • 1 cup white sugar
  • 1 cup brown sugar, packed
  • 2 eggs
  • 2 tsp vanilla extract
  • 3 cups GF all purpose flour
  • 1 tsp xanthan gum (omit if using wheat flour)
  • 1 tsp baking soda
  • 1/2 tsp salt
  • 1 cup semi-sweet chocolate, chopped, about 5 oz
  • 2/3 cup salted peanuts, chopped
  1. Beat butter, peanut butter and both sugars until smooth, being careful not to over mix.
  2. Add eggs, one at a time, and vanilla, beating until incorporated.
  3. Sift in flour, xanthan gum, baking soda and salt until combined.
  4. Stir in chocolate and peanuts until evenly distributed.
  5. Roll into 1 inch balls (or 1/2 inch for toddler size cookies) and place on lightly greased cookie sheet. Flatten lightly with fork in a crisscross pattern.
  6. Bake at 375°F for 8 to 10 minutes (less for smaller cookies).
    Makes 4 1/2 dozen cookies

1st Baking with Grandma

Six-in-one Cookies

Kwan’s Chicken Wings

Kwan’s Chicken Wings

When nostalgic recollections in Lucknow turn to Kwan’s Sunday Chinese Buffet the most sadly missed item seems to be the chicken wings. We have not found a restaurant that compares so I decided it was time to try making them myself since Wyatt had shared their secret with me. They are the perfect gluten-free chicken wing because there are only 5   ingredients and at home I can be sure nothing has contaminated the cooking oil.

Kwan’s Wings – click here for pdf version of recipe

2 lb    chicken wings, cut in 3 pieces, discarding the tips (or use in your dashi stock)

1 1/2 Tbsp gluten-free soya sauce

1/2     tsp sesame oil (if you do not have it substitute any vegetable oil but it will not have                the same flavour)

1/2     tsp salt

1/2    tsp garlic salt or 1/4 tsp garlic powder

1       Tbsp potato starch

  • Whisk together soya sauce, oil, salt, garlic powder and potato starch and pour over wings in a plastic bag or bowl. Turn or stir several times to coat wings while marinating for about an hour before cooking.
  • Heat oil in deep fryer to 375 degrees and cook in batches of about 10 so the oil does not drop too much in temperature. Cook for about 7 – 10 minutes depending on the size of wings and your fryer. Raise wings several times to turn them over and prevent sticking to the basket.

Eat them as soon as they cool. They do not require any dipping sauce but if you like a little extra  flavour try some Thai Sweet Chili Sauce for dipping.


Best Banana Muffins – Vegan style

These banana muffins never disappoint! I adapted this lower sugar version of the Muffin Mania Banana Muffins in the 80’s and have been making them probably every month since in one version or another. When I had to switch to gluten-free flour they made the transition almost seamlessly. With my flour mix and a teaspoon of xanthan gum I am not afraid to take them to the shop for coffee break (especially if I make the chocolate chunk version). So when my niece was coming for a visit and I had some nice ripe bananas (the secret ingredient) I thought I would try them with a flax egg substitute to suit her vegan diet. I was not disappointed – they were great with fresh and dried cranberries for added flavour. I would make these if I were out of eggs anytime!

Vegan Banana Cranberry Muffins – for pdf version click here Vegan Banana Muffins

1 Tbsp ground flax seed*
2 1/2 Tbsp water *
1 1/2 cups all purpose gluten-free flour
1 tsp xanthan gum
1/2 cup white sugar
1 tsp GF baking powder
1 tsp baking soda
1/2 tsp salt
3 very ripe bananas, mashed, about 1 1/4 cups
1/3 cup margarine or butter, melted
3/4 cup fresh, frozen or dried cranberries or combination

* the flax and water replaces one egg – if you are not vegan you may use an egg instead

  • Whisk water into flax seed in a small bowl and let sit while preparing rest of ingredients (at least 5 minutes) until thickened.
  • Sift flour, xanthan gum, sugar, baking powder, baking soda and salt in a bowl.
  • Stir flax mixture and margarine into bananas until blended then pour over sifted dry ingredients.
  • Add cranberries and mix until evenly distributed.
  • Fill paper-lined muffin pans using a 1/4 cup measure or a 2 1/4 ounce scoop for 9 large muffins or a 7/8 oz scoop for 30 mini-muffins.
  • Bake at 365°F for 25 minutes (less for mini-muffins)until muffin springs back when lightly touched.