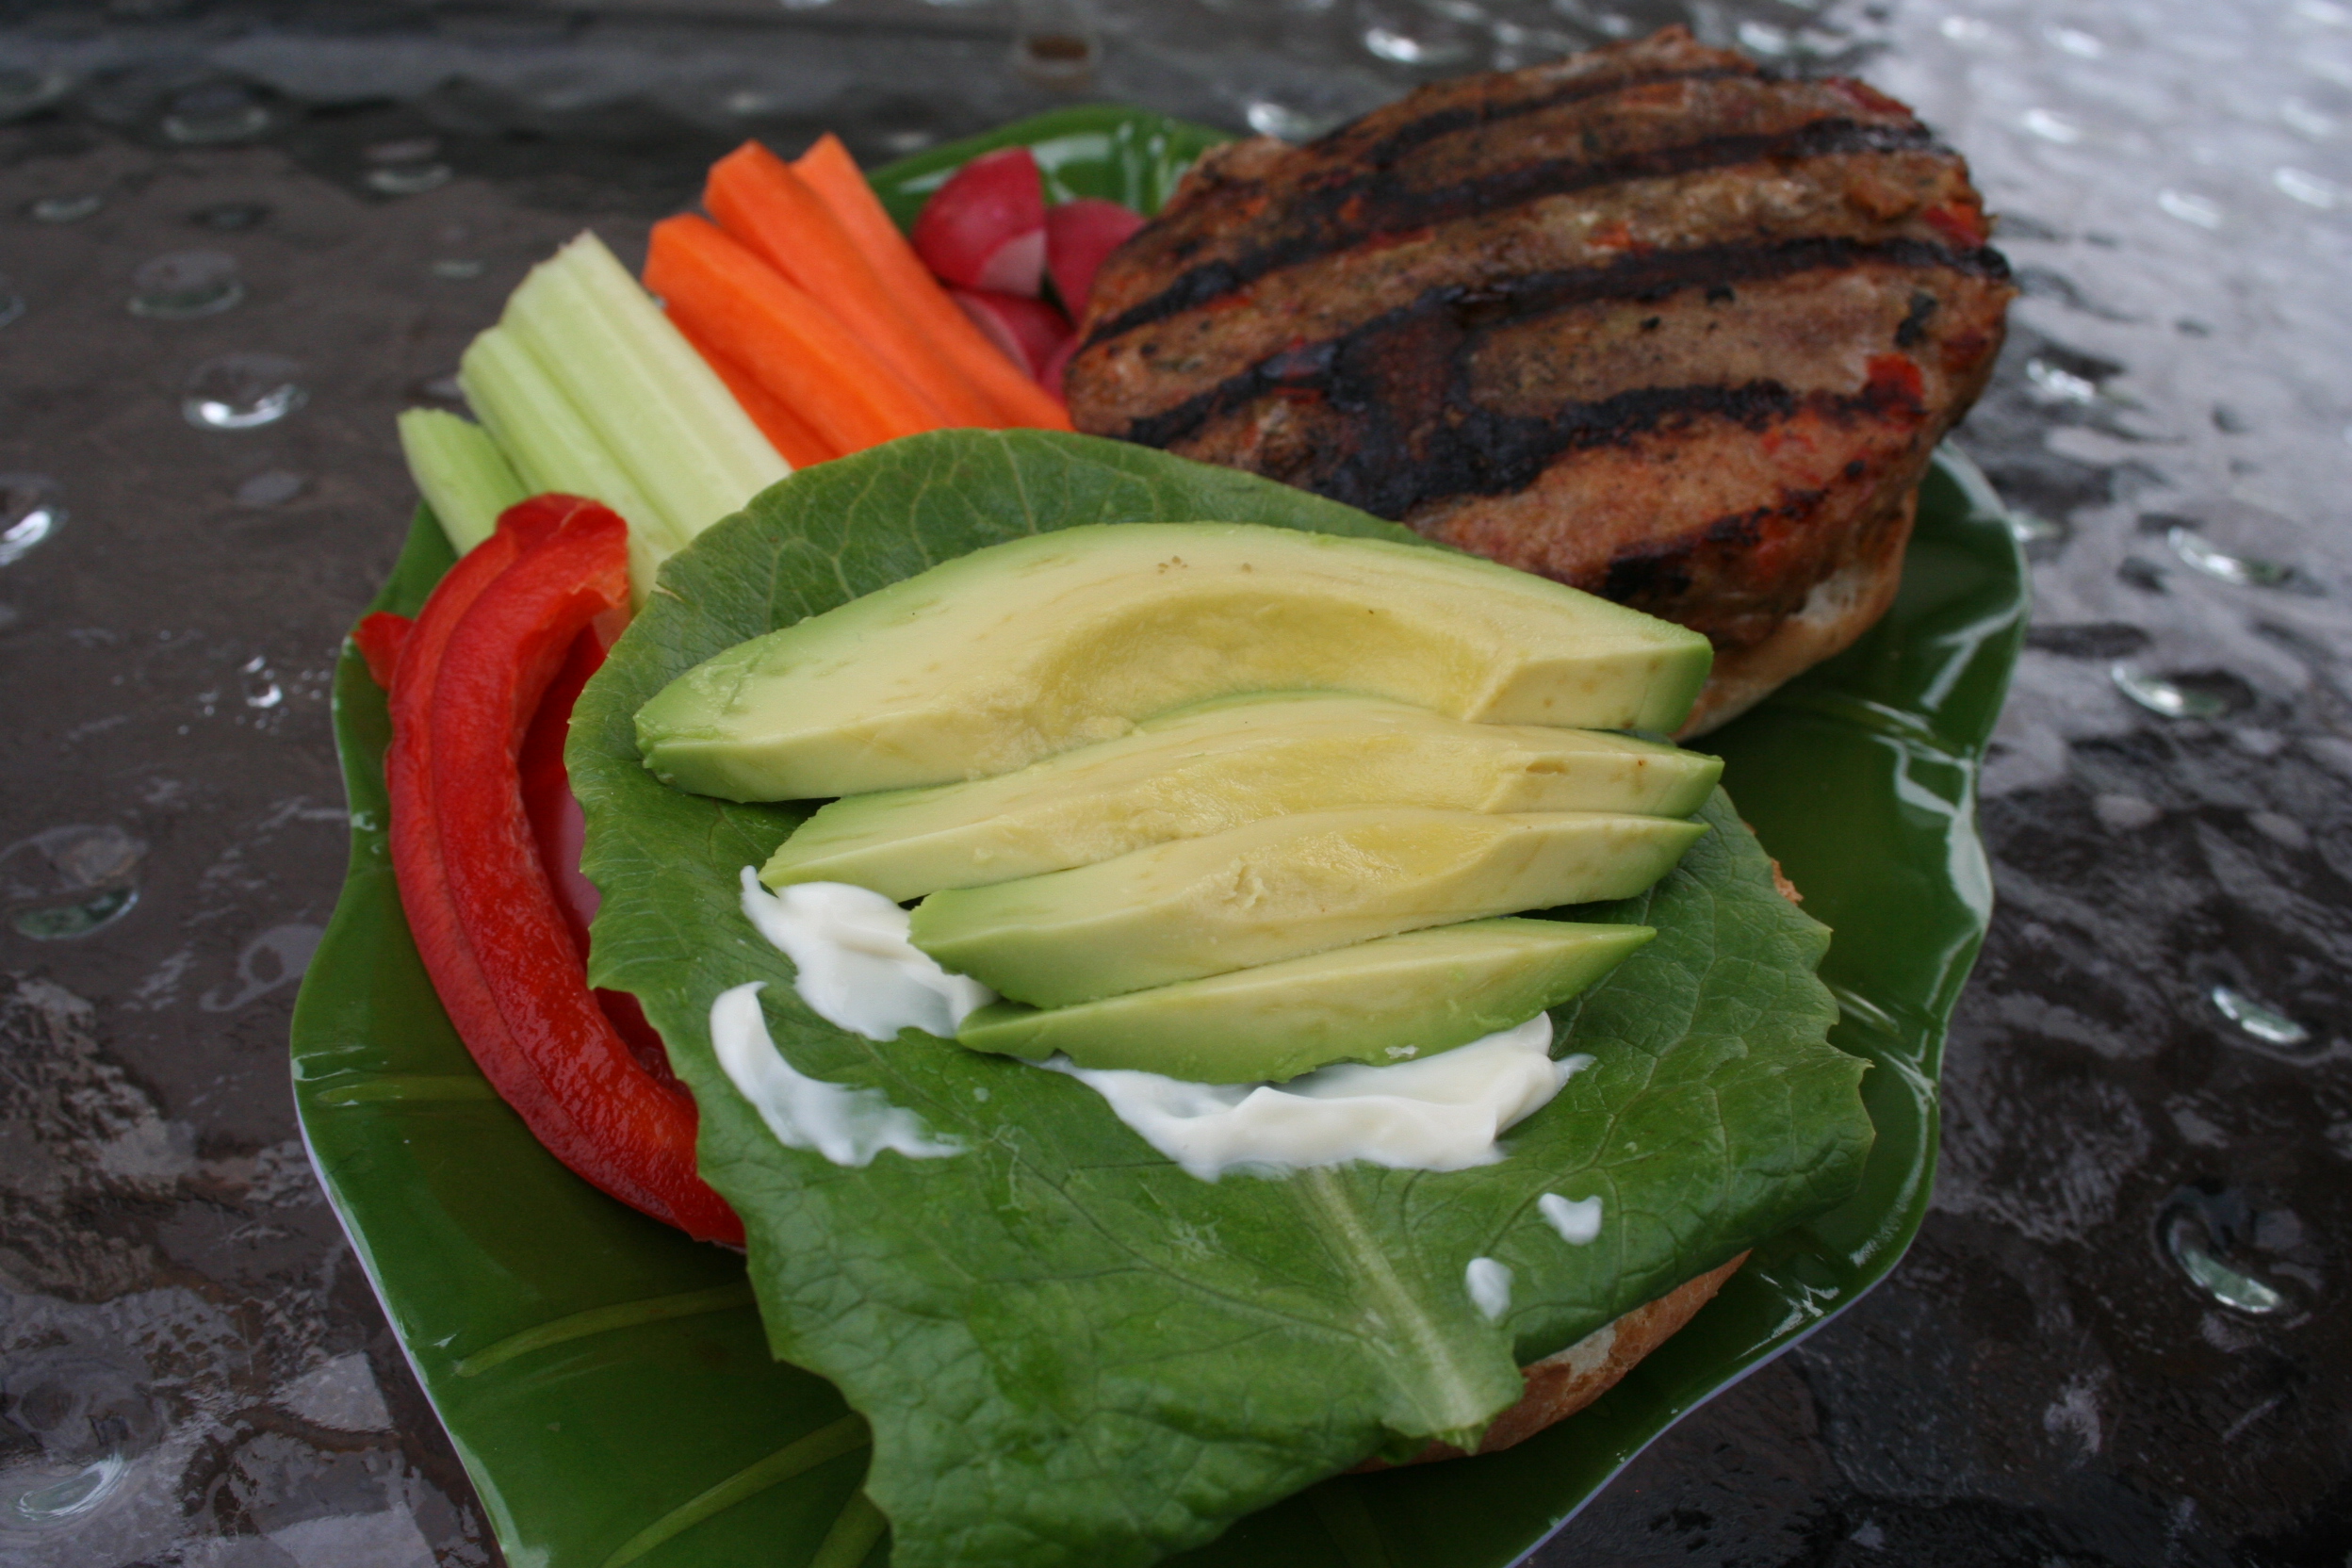
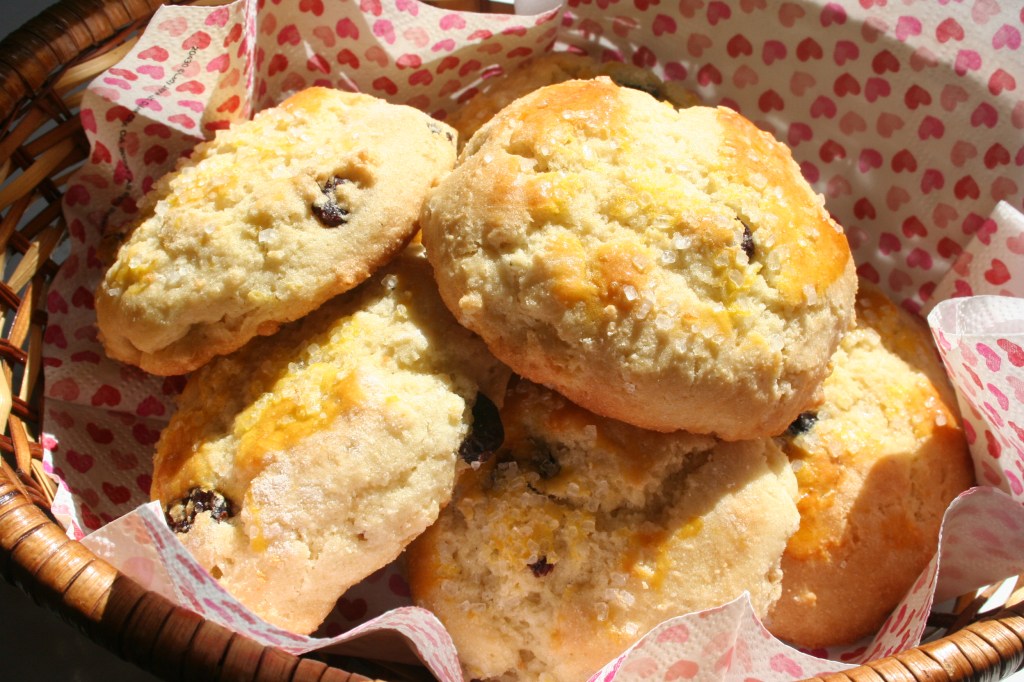
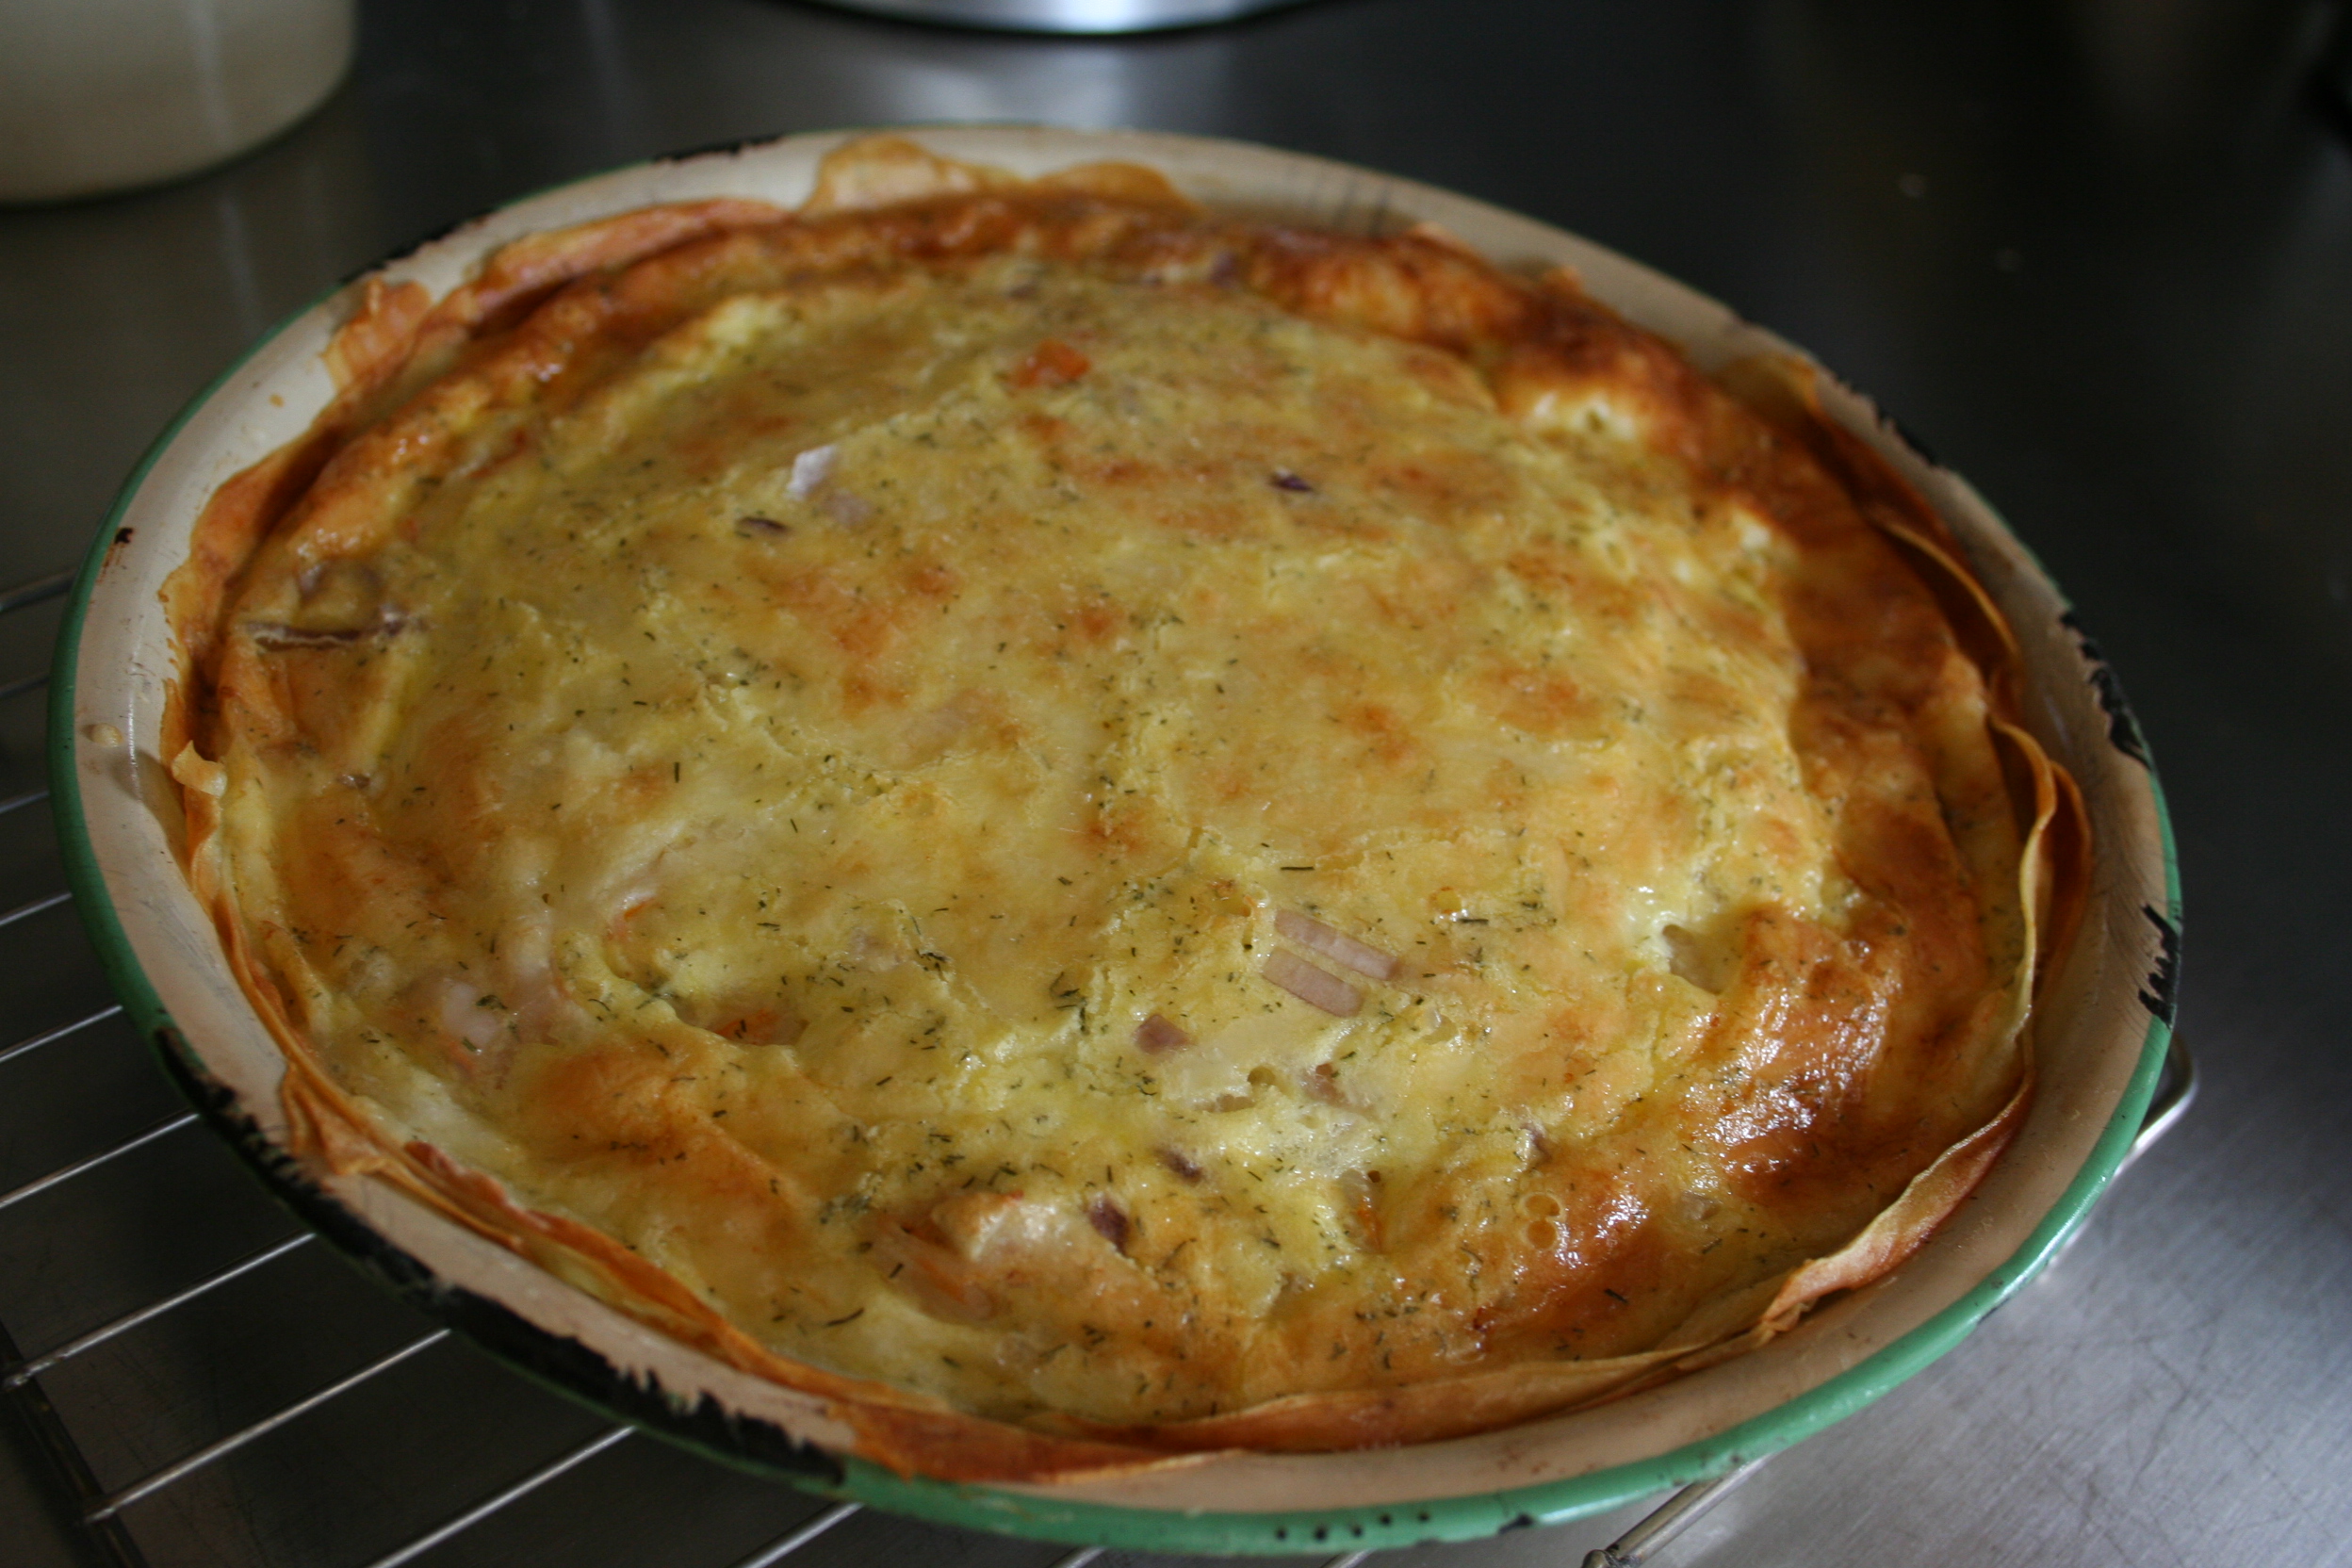
Grace’s Lemon Cranberry Scones

Grace’s Cranberry Citrus GF Scones

Almost as good as the original version made with wheat and much simpler to get on the pan when they are dropped as opposed to being cut. Definitely a delight with a cup of tea or coffee!

  • 2 1/4  cups GF bread flour* 
  • 1/2  cup potato starch 
  • 1  tsp xanthan gum 
  • 1  Tbsp GF baking powder 
  • 1/2  tsp baking soda 
  • 3/4  cup white sugar 
  • 1/2  tsp salt 
  • 1  tsp lemon or orange peel, grated (optional) 
  • 1/3  cup butter (3/4 inch of 1 lb) or margarine 
  • 3  eggs, reserving 1 yolk for the top 
  • enough buttermilk or sour milk to measure 1 1/4 cup with eggs 
  • 1/2  cup dried cranberries (optional) 
  • coarse sugar for topping if desired

Sift flour, potato starch, xanthan gum, baking powder, baking soda, sugar and salt in a bowl.

Cut in butter with a pastry blender or your clean hands until crumbs are between the size of peas and lentils.

Stir in lemon zest to coat with flour.

Whisk buttermilk with eggs and pour over dry ingredients and mix with a fork until batter is combined.

Add cranberries and continue to stir until dry ingredients are incorporated and cranberries are evenly distributed.

Drop biscuits onto parchment lined baking pan and brush with reserved egg yolk and sprinkle with coarse sugar if you like.

Place on baking sheet and bake in a 425°F oven for about 12 – 15 minutes until the scones are nicely browned and barely give when pressed on top.

Makes 13 – 15 two inch biscuits

Advertisement

Salmon Edamame Salad

Edamame Salmon Salad

Salmon Edamame Salad

You will have to plan ahead and pick up a few of the ingredients for this salad but I think you will make it again and again once you have tried it. It is adapted from Michael Smith’s recipe with a few more options in the vegetables and seasonings since I had trouble getting everything the first time I made it. I recommend you buy a bag of frozen edamame beans since they will boost the protein and nutrient value of this dish and will go just as well in other summer salads or as a side with any dinner.  I bought a little squeezable pack of miso paste since I have a few Japanese recipes I use it in but if you don’t have it just make the dressing without it. It is delightfully delicious on a hot evening and the perfect meal to pair with fresh corn on the cob. I have cut the leftover corn from the cob and thrown it in with an avocado and cucumber to stretch the leftover salad into a lunch or second dinner.

8 – 12 oz cooked salmon fillet, see below

salt and pepper to taste

1 tsp butter and a splash of olive oil

2 cups arugula or your greens of choice

1 cup edamame beans, cooked and shelled

1 cup carrot, coarsely grated

1 sweet yellow or red pepper, sliced thinly

1 cup snow peas, sliced thinly (optional)

1 cup bean sprouts (optional)

1 cup cilantro leaves or 1/2 cup parsley leaves, chopped

2 green onions, sliced

Dressing:

1/4 cup vegetable oil

1 Tbsp sesame oil, toasted

2 Tbsp grated ginger*

2Tbsp rice wine vinegar

1 Tbsp miso paste (leave out if you do not have it)

1 tsp soy sauce

1 tsp honey

  • Michael Smith suggests keeping fresh ginger in the freezer and grating it as fresh and I find this works well.

Cook salmon according to directions below while preparing remaining ingredients.

Cook edamame beans according to package direction and set aside.

Prepare dressing by whisking the oils, ginger, vinegar, miso paste, soy sauce and honey until smooth.

Slice snow peas and sweet pepper and shred carrots.

Place arugula in a shallow bowl or large serving plate and sprinkle with edamame, snow peas, carrot, pepper, sprouts, cilantro and green onions. Break cooked salmon into large pieces with a fork and spread over all.

Drizzle with dressing and toss. Serve with some crusty bread or corn on the cob.

My Favourite Way to Cook Salmon Fillets

A long time ago I saw Ina Garten, on the Barefoot Contessa, cook salmon by searing the top side then flipping it and finishing it in a hot oven. I found I get almost perfect results every time so this has become my first choice for cooking salmon or trout. Even if I am doing it on the BBQ I like to start it in the frying pan and if the grill is on it’s a great excuse to season up some corn on the cob alongside.

Dry salmon fillet and season as desired with salt and pepper.

Heat frying pan that can be put in the oven (I use a cast iron pan) with a tsp of butter and a little oil to keep the butter from burning. When it just starts to smoke add seasoned salmon, skin side up and sear until browned and starting to turn pink about 1/3 of the way through, about 5 – 6 minutes.

Turn and place whole pan in the oven at 400°F or slide fillet carefully onto a piece of foil on a preheated BBQ and bake another 7 minutes until cooked through.

Serves 3 – 4

Salmon Edamame Salad Click here for printable pdf

Shrimp Quiche

Shrimp Quiche with Potato Crust

This shrimp quiche is a great excuse to celebrate spring or Mother’s Day with a brunch. Claudia always served this quiche in little tarts at her Christmas open house and those were spectacular but I had to quickly check her recipe to see if I got the same results and I did not have time for pastry and the extra time required to make individual tarts so I lined a pie plate with thinly sliced raw potato like I usually do for quiche and it was in the oven in no time and we had it for dinner with a salad. It was so delicious I wanted to tell everyone to add this to their favourites collection! I really cannot wait to make this again.

Claudia’s Shrimp Quiche

  • Pastry for 12 tarts or 9 inch pie plate*
  • 2  eggs
  • 1/2  cup mayonnaise
  • 1/3  cup milk
  • 1/4  tsp salt
  • 1/4  tsp dill weed
  • 4  oz cocktail shrimp, I use frozen
  • 1/4  cup shallots or onion, finely chopped
  • 1  cup shredded Swiss cheese


  1. Line tart shells or pie plate with pastry. * You may also peel and thinly slice or shave potatoes and overlap to line a buttered pan. I use a mandolin to shave the potatoes but I have also done it by hand.
  2. Whisk together eggs, mayonnaise, milk, salt and dill.
  3. If using frozen, cooked shrimp, thaw before use. Divide shrimp, onion and cheese between 12 tart shells and cover with egg mixture.
  4. Bake in a 375°F for 20 minutes for tarts, or 35 – 40 minutes for larger pie, until lightly browned and set and pastry is done.

Pumpkin Pie Coffee Cake

Pumpkin Coffee Cake


Pumpkin Pie Coffee Cake – Click here for PDF version

I was a little skeptical when I saw this recipe on Mary Younkin’s blog with actual pumpkin filling in the centre but I was amazed at how well it turned out. I love pumpkin pie and I love coffee cake and the two together are even better!

It is the best coffee cake I have made since I was diagnosed with Celiac Disease 5 years ago!

Prepare Cake Batter:

1/2         cup butter or margarine

3/4         cup white sugar

3             eggs

1             tsp vanilla

2             cups GF AP flour*

1             tsp xanthan gum

1             tsp baking powder

1             tsp baking soda

1/4         tsp salt

1             cup sour cream

Filling:

2             cups pumpkin puree (15 oz)

3/4         cup brown sugar, packed

1             tsp cinnamon

1/2         tsp salt

1/2         tsp mace

1/2         tsp ginger

2             eggs

1/2         cup light cream or milk, scalded

Topping:

1/3         cup butter,  melted

1             cup brown sugar, packed

2             tsp cinnamon

1             cup pecans, chopped

* I used 1 cup of my gluten-free AP flour and 1 cup GF bread

  • For the cake beat butter and sugar until light, then beat in eggs one at a time.
  • Sift or stir together flour, baking powder, baking soda and salt, then beat into with butter mixture.
  • Add sour cream and beat again until smooth.
  • Prepare filling in a separate bowl by mixing pumpkin, brown sugar, cinnamon, salt, mace, and ginger.
  • Add eggs, then scalded cream and whisk until smooth.
  • For the topping mix melted butter with brown sugar, cinnamon and pecans and set aside.
  • Pour a little more than half the batter into a greased 9 x 13 inch pan then spread pumpkin filling evenly over all. Spoon remaining batter as evenly as you can over the filling. Do not worry that there are spaces between the batter but get it as even as possible and sprinkle with the topping mixture.
  • Bake for 50 – 60 minutes at 325°F or until cake springs back when lightly touched, a tester comes out clean and cake is pulling away from the sides of the pan. Cool before serving.

Pumpkin Pie

Pumpkin Pie
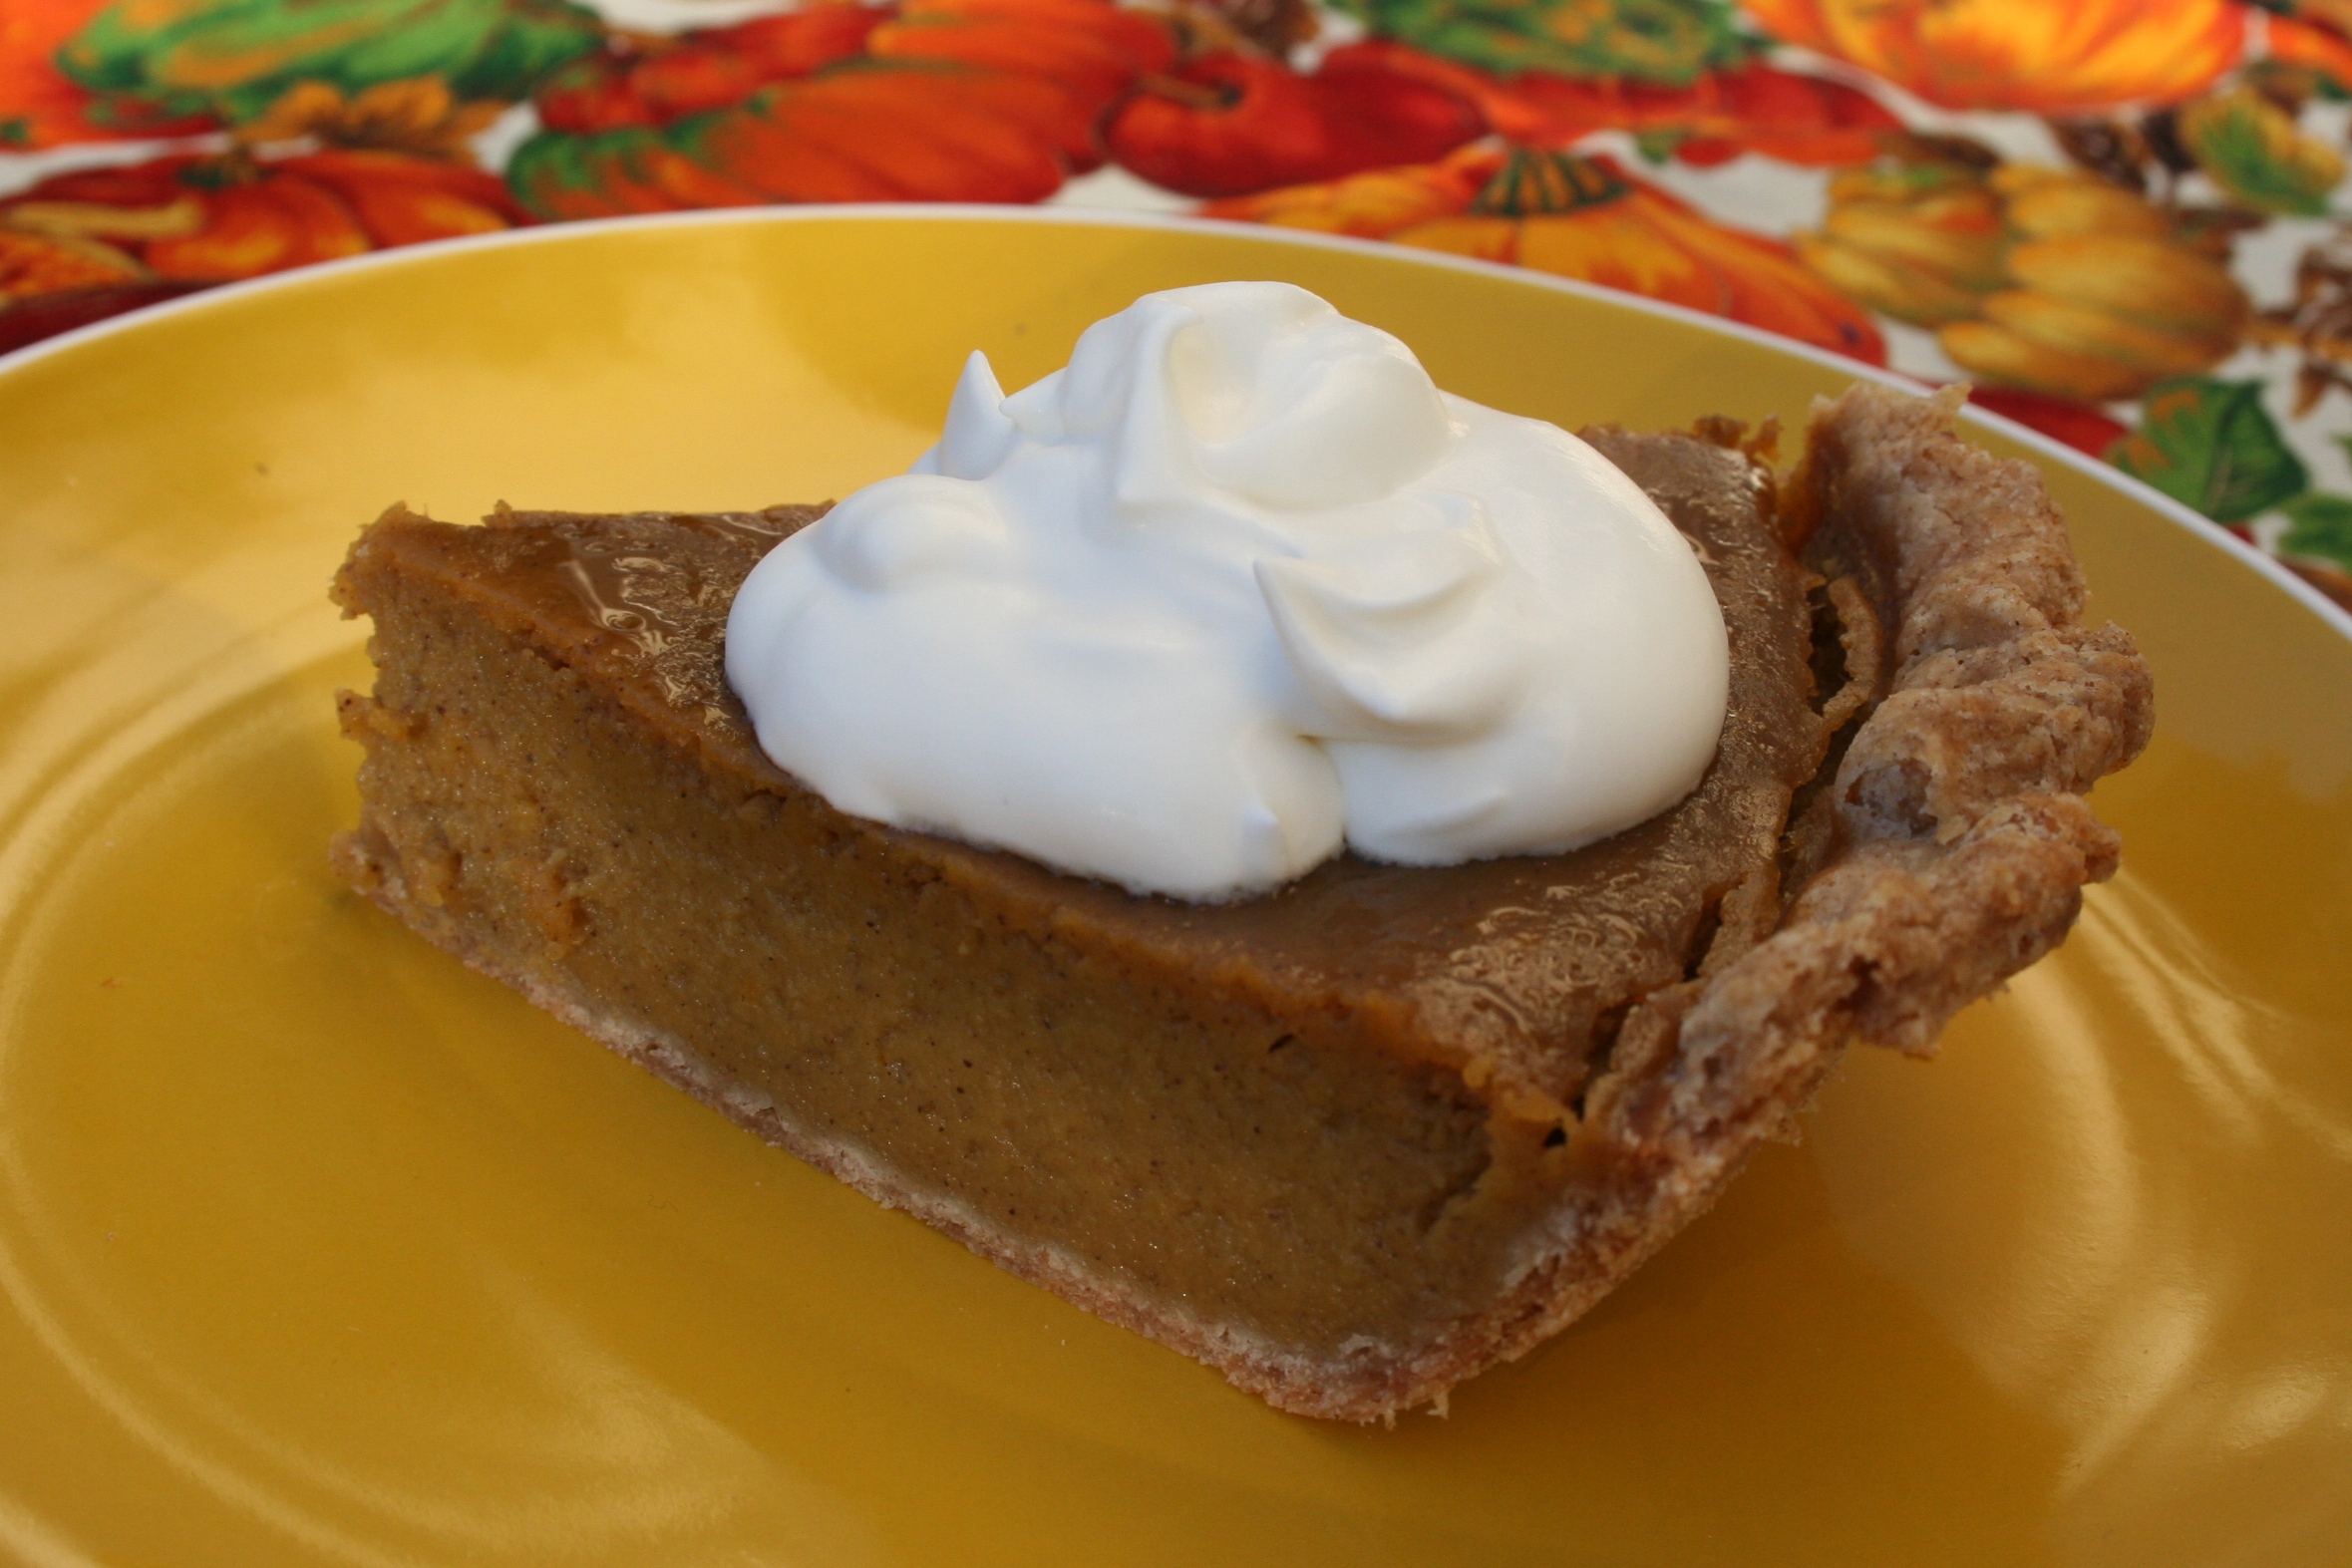
This is the perfect Thanksgiving dessert and so simple yet delicious. I got this recipe from my Aunt Marj who says it was off the pumpkin can and I have just changed it slightly to use fresh or frozen pumpkin purée and dark brown sugar. Made with homemade pumpkin purée (see below) and topped with sweetened whipped cream it is ranked at the top of our family favourite list. Luckily for me the filling is naturally gluten-free!

Pumpkin Pie  Click here for PDF version

9 inch unbaked GF pie shell

1  cup dark brown sugar, packed

1  tsp cinnamon

1/2  tsp salt

1/2  tsp mace

2  eggs

1 1/2  cups pumpkin purée, fresh (below) or canned

1 cup milk, scalded

  • Mix brown sugar, cinnamon, salt and mace.
  • Stir in eggs and pumpkin purée until smooth.
  • Add scalded milk and mix until mixture is uniform.
  • Pour into unbaked pie shell and carefully move to the oven without spilling.
  • Bake at 375°F for 20 minutes then reduce temperature to 325°F and continue baking for another 45 – 55 minutes or until centre is set. You may check for doneness by inserting a skewer or knife into the centre and it should come out clean but I look for a little cracking around the outside and no jiggling in the centre which means it is well done.
  • Cool and serve with Sweetened Whipped Cream.

Pumpkin Puree

I make my own pumpkin purée and it is just that much better when it is fresh!

Pie pumpkins should have dense, dark orange flesh.

2 – 4 pie pumpkins

  • Wash, cut and remove seeds from pumpkins.
  • Place in a roasting pan with a cover and bake at 400°F until pumpkin is hot, about 1/2 hour, then reduce heat to 350°F and continue baking several hours until pumpkin is soft and pulling away from the skin. You may also cook the pumpkin in the microwave but it does not develop quite as much flavour.
  • Let pumpkin cool then scrape out of shell and put flesh through a food mill or sieve.
  • Set in a strainer lined with cheesecloth or a porous, clean cloth and let drain for 1 hour, reserving the liquid drained for soups or rice. This step is very important to give you a purée that is the right density for recipes using canned pumpkin. It may be measured in the amounts you need for pies or muffins and can be frozen to use later.
  • It will keep in the refrigerator for about a week.


Chicken Veggie Burgers

These chicken patties are a little more work than plain ones but they are worth every bit of extra effort because of the added flavour and nutrients.

Chicken Veggie Burger

Chicken Veggie Burgers Click here for pdf version

Sautéed Vegetables:

1 tsp olive oil

1 onion, finely chopped

2 cloves garlic, minced

2 carrots, finely chopped

1 sweet red pepper, finely chopped

1 cup mushrooms, chopped

1 tomato, seeded and chopped about 1/2 cup

Meat Mixture:

2 lbs ground chicken or turkey

1 egg

1 tsp paprika

1 tsp savory

1 tsp salt

1/2 tsp pepper

1/2 cup fresh bread crumbs or cracker crumbs

sautéed vegetable above, cooled

Cook onion in oil on medium low heat until soft then add garlic and cook a little longer.

Add carrots, cover and continue to cook on low until they are starting to soften then add

mushrooms and peppers and cook until liquid is starting to evaporate about 20 minutes.

Add tomato, paprika, savory, salt and pepper and cook a little longer then cool before

mixing with meat.

Mix ground chicken, egg, bread crumbs and cooled vegetables until uniformly  distributed.

Using a half cup measure form into patties and freeze. You may grill them without freezing

but they are a little more difficult to keep together.

Grill over medium heat until no longer pink.

Making Butter Tarts with Classic Rock 94.5

Classic Rock 94.5 hosts Nathan Marshall and Chris Fudali made the best butter tarts using my Aunt Marj’s recipe in “Anne’s Favourites” and just a little extra direction from me.

These guys are good! They say they have never made pastry before but they made it look easy. Either they are naturals or the recipe is practically fool proof or maybe a little of both!

The filling was perfect sweet and custardy even if the walnuts were whole (I neglected to suggest that the nuts be chopped). Whatever the reason my Aunt Marj would have been proud of the tarts made with her recipe.

There is still time to enter the draw to win one of my cookbooks so put in your name and pass along the information to someone else that might want to have a chance!

http://classicrock945.ca/contests/2016/11/classic-rock-94-5-bakes-butter-tarts-with-pastry-pro-anne-mann/

jason-chris-kelly

annes-classic-rock-tarts Click here for the recipe. Note this pastry is the original from my cookbook but I have a gluten-free adaptation on another post if you need it.

Thank you to Knechtel Food Market

I would like to thank Brian and Kathy Knechtel for providing Lucknow with a wonderful grocery store for 29 years and for selling over 500 of my cookbooks while refusing to accept any commission or discount. Without their support Anne’s Favourites would have been a huge disappointment. Instead, it has given me more joy than I ever would have imagined when I printed and published it. I am sincerely grateful to them and the other retail locations that have carried my book and the over 13oo people who have purchased it!

Now that Knechtels is closed Anne’s Favourites will still be available at these retail locations:

  • Cliff’s Plumbing & Heating in Lucknow
  • Finchers in Goderich and Kincardine
  • Green’s Meat Market in Lucknow and Wingham
  • The Kitchen Cupboard and Icebox in Listowel
  • Sewing Galore in Wingham
  • Chesley Grocery Store

I can arrange to deliver or mail a copy to you if you call Cliff’s Plumbing & Heating (our business) 519-528-3913 or home 519-528-3500 (you may leave a message)

Cucumber Salad

cucumber-salad-2

Cucumber Salad – for pdf version click here cucumber-salad

When the cucumbers are fresh and plentiful I love to make this delicious salad. It is particularly nice with the smaller cucumbers from your garden or the farmers market. I use my mandoline to slice them thinly but I it is easy enough to slice by hand also. Kat mentioned you could use a potato peeler for paper thin slices but I prefer them a bit thicker.

You can definitely adjust the extras in this salad to your taste. I love dill so I almost always add a little fresh or frozen dill weed if I have it but if you do not like dill leave it out. We also love onions so always use red onion but it you are not so keen just use green onion or chives.

Kat’s Cucumber Salad

2 – 3     small cucumbers, peeled and sliced as thinly as possible, about 2 cups

2          Tbsp thinly sliced red onion (optional)

salt as needed

1/3       cup sour cream

1          Tbsp mayonnaise or whipped salad dressing

1          Tbsp white wine vinegar

1/4       tsp salt

3/4       tsp white sugar

1 – 2     Tbsp chives, chopped or green onion

1          Tbsp fresh dill weed (optional)

Freshly ground black pepper

  • Peel and slice cucumber and onion as thinly as you can or to your taste.
  • You may use a slicer or even a potato peeler but it is easy enough to do them by hand.
  • Sprinkle liberally with salt and let sit for at least 20 minutes.
  • Strain off liquid and discard. I let them sit in a strainer over a bowl for about an hour. Squeeze excess water out before dressing.
  • For dressing mix sour cream, mayonnaise, vinegar, salt, sugar, chives and dill.
  • Pour over drained cucumbers and onion.
  • Top with pepper and adjust seasoning to taste.

Serves 4

Roasted Cherry Tomato and Sausage Pasta

Roasted Tomato - Copy.JPG


Roasted Tomato and Sausage Pasta

I love the little orange Sun Sugar cherry tomatoes from William Dam Seeds www.damseeds.ca but in a good year they produce more tomatoes than we can use or give away since we have given all our friends and families their own plants to grow in the summer. They add a delicious taste and sweetness to tomato juice but sometimes I am not ready to make a pot of sauce so this pasta uses the excess and answers the question “what’s for dinner” in a very satisfactory way! It is adapted from Michael Smith’s “Cherry Tomato Penne” with a little more bounty from the garden added.

Roasted Tomato Sausage Pasta Sauce – For pdf version click here cherry-tomato-pasta

Nick recommended I try Michael Smith’s Roasted Cherry Tomato Penne and I was glad he did. I could not believe how simple and delicious this pasta dish was and it used a commodity that is difficult to preserve if you have an over abundance from the garden. Because I love roasted peppers and they are available at the same time as the tomatoes I included them with the sauce. I added the egg plant just to use them up one time and found they added a depth and creaminess to the dish that made it even better. This quick summer pasta dish has become a staple in our house.

1              Tbsp olive oil

8              cups cherry tomatoes, I use a mixture of red, orange and any chopped larger                              tomatoes if needed

1              red or coloured sweet pepper, coarsely chopped

1              small to medium egg plant, peeled and cubed (optional)

1              large onion, coarsely chopped

4              cloves garlic

6              garlic sausage (500 g) or sausage of choice – It’s fine to use up smoked sausage

salt and pepper generously sprinkled over all

8 -12       ounces  Gluten-free pasta shells or penne, I use an 8 oz box

1              large handful of fresh basil, about 4 stems, remove leaves and chiffonade

Grated Parmesan cheese as desired

  • Place olive oil, tomatoes, pepper, egg plant (optional), onion and garlic in a large roasting pan so vegetables are essentially in a single layer and roast at 400 °F for 30 minutes. I actually use 2 lasagna pans to spread them out and combine them after they are cooked.
  • Cut sausage into 1/2 inch pieces and add to roasted vegetables and continue roasting until sausage is browned, about 30 – 40 more minutes..
  • Cook pasta in salted water according to package directions when sausage is almost done.
  • To chiffonade basil leaves pile leaves together and roll. Cut through all leaves at once in narrow strips..
  • Toss basil in with roasted tomato mixture when pasta is done and top with grated cheese if desired.

I have roasted all the vegetables with the sausage for the sauce and frozen it to use in the winter and was really glad to have it for a quick meal.

Serves 6 – 8

http://www.annesfavourites.ca